
Envelopes are lots of fun to print! I only print them on my C&P platen press (I can’t speak to those that use Vandercooks) as it’s the best tool for the job. I print on both the back flap and the front side of envelopes and both present different issues. I’m going to show both, as well as a ‘proper’ way to do the makeready and a less conventional method. Then you can figure out what works best for you.
The first envelope will have a return address on the back flap. I think it’s easier to print envelopes with the flap open and the body of the envelope going into the press first. I print on the tympan for placement, then fold back the envelope flap and use the top edge to line up along the text to get the left side placement of the gauge pin. Then I shimmy the envelope down to get the bottom pin placement, the same as I would with any other print.
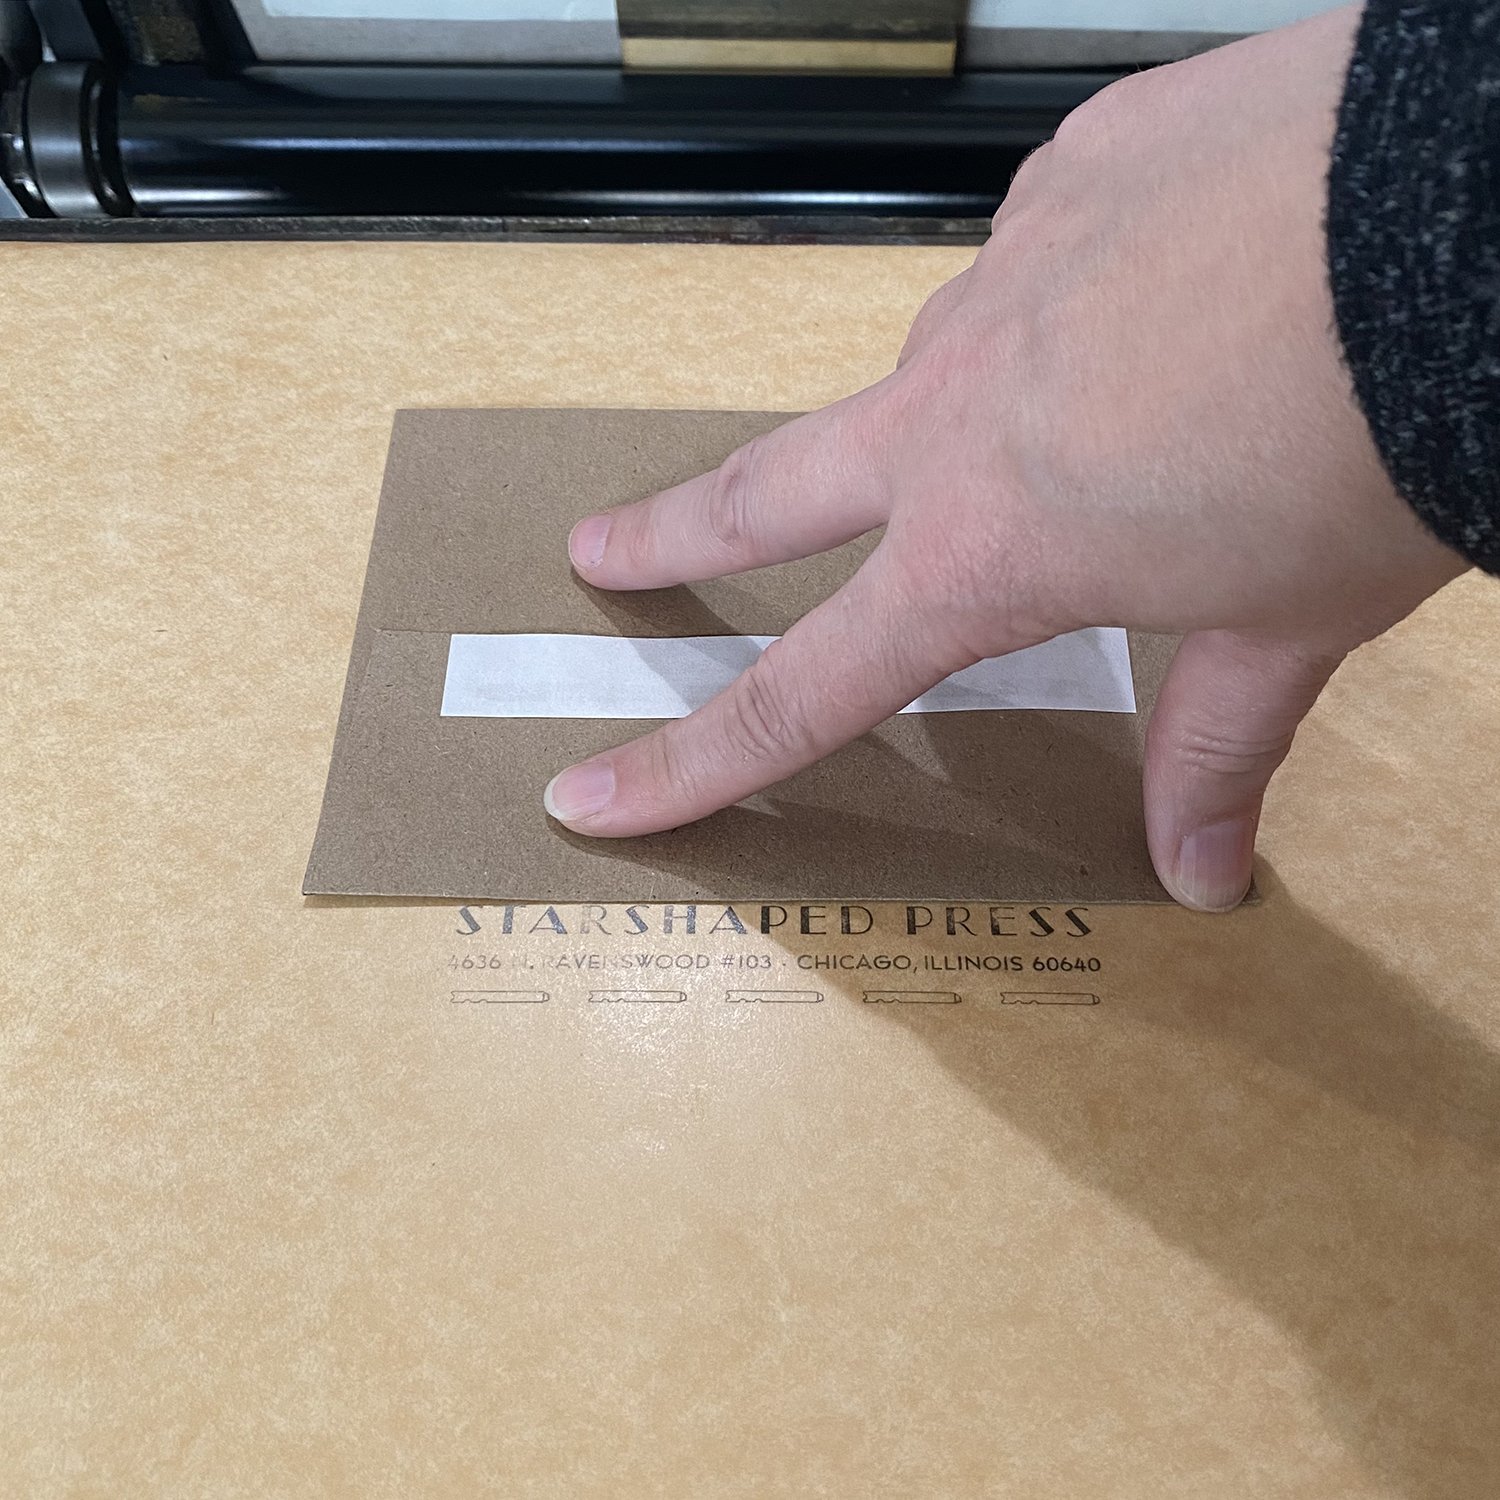
After making the first print and getting the alignment where I want it, I prep the makeready by cutting notches in the envelope that are deep enough to extend into the makeready sheet, which is locked up with the tympan paper under the bail closest to the inside area of the press.
Then, after lifting up the tympan paper, you can see where those notches are on the makeready sheet under the tympan (make sure the pins are only going through the tympan paper).

I use thin, cheap packing tape to hold the envelope down, as well as build up the areas that are too light on the print. Note: I realized that the photos I have show the envelope in the wrong place with the notches before I adjusted it for the final print! Apologies for not getting the right photos.

Then I place one of the heavier press board sheets on top of this so there’s a nice, hard pack right under the tympan paper. Note that if you are adding anything to your makeready sheet, like the envelope itself, you should be mindful of how this adds to your overall packing and impression.

Sometimes envelopes have a little ‘lift’ to them because of the folds so I’ll often use grippers and gripper fingers to help hold them in place.

Printing the flaps open cuts down on impression coming through on the front of the envelope. I also check them to make sure there isn’t too much impression.
Onward to another envelope! This time, I’m printing on the front of the envelope, which presents a different issue. I start the same way with printing on the tympan to find the print location and then set the pins.

Then I get the placement just as I want it, even if the printing/impression isn’t quite right.

I’m definitely using grippers again on this because of the curvy bend in this particular set of envelopes. Grippers and fingers can be placed anywhere they won’t hit a pin or the type.


The issue with printing on the front of envelopes is that you often have to deal with multiple layers of paper. You can see here that my text will span two different ones in this corner placement.

I’m going to show the more unorthodox makeready that I sometimes do for envelopes like this, using the top of the tympan paper, because it’s easier and faster to manipulate with tiny adjustments. As I’ve often said, there are many ways to do most things in print and I’ve gotten conflicting lessons from many sources. I’m showing a method that works and is very easy to tweak.
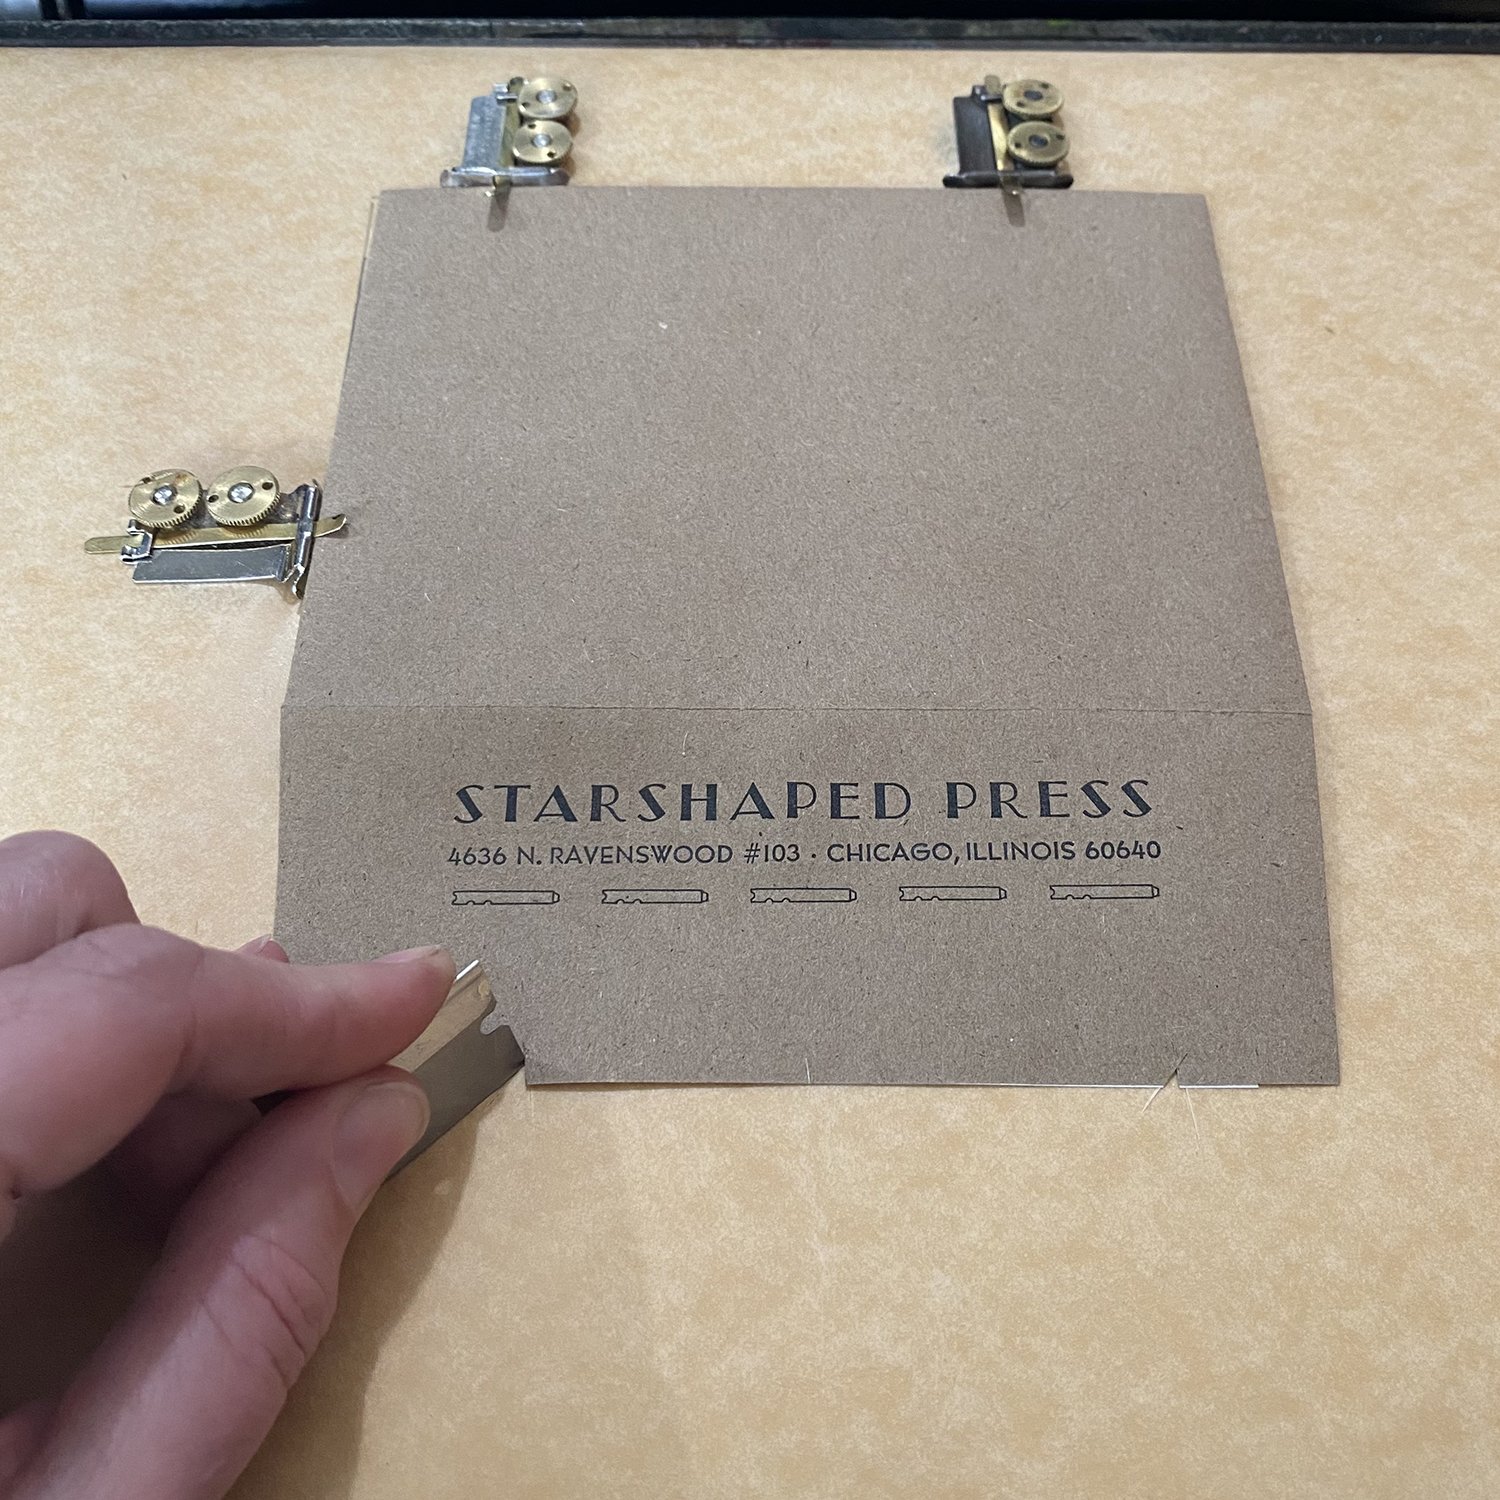
I first cut along the second layer of the envelope in the area that will have print on it.

Then I place it back on the press, carefully holding down the piece I want to stay that will increase the area of the envelope that only has one layer of paper vs. the two on the folded edge. This will make a consistent level of packing for under the area of print.
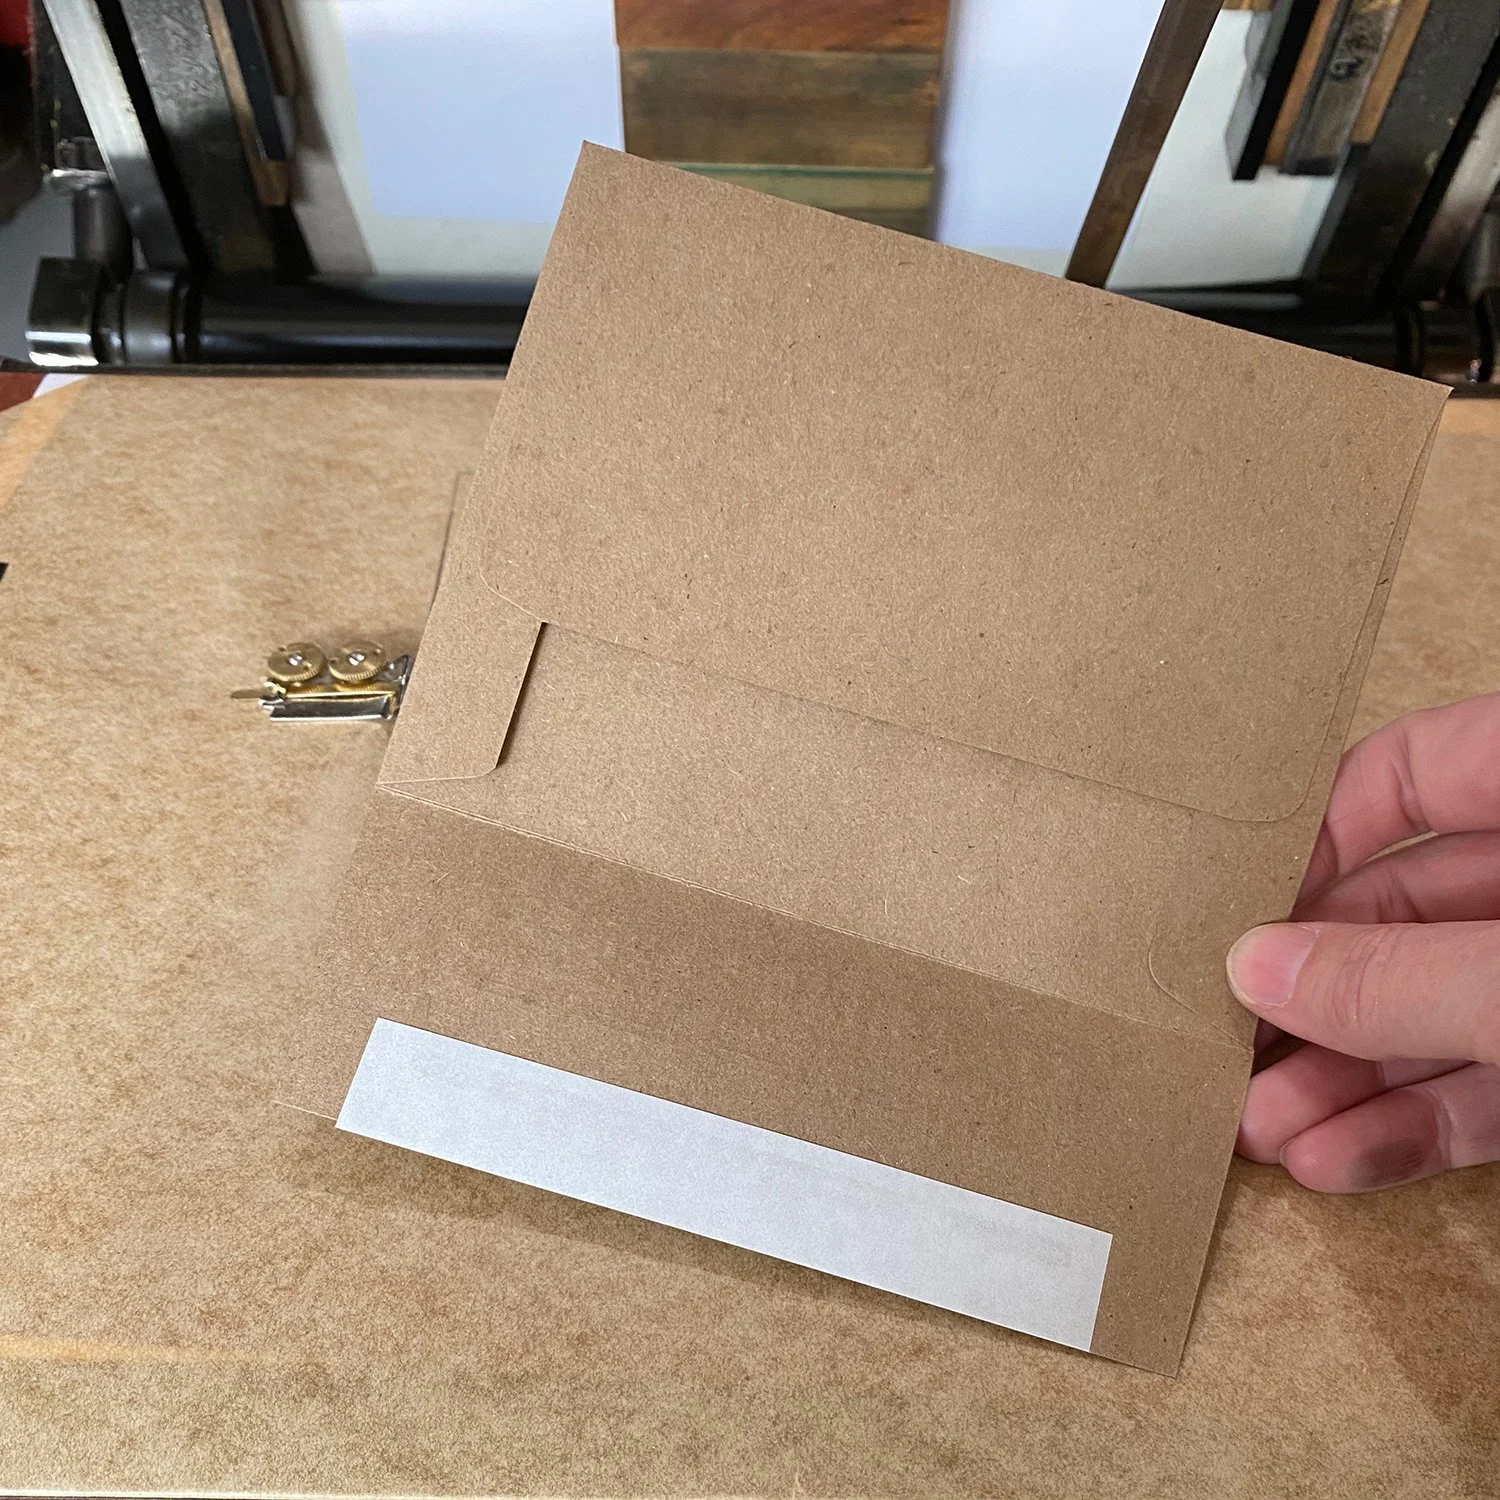
Then I tape it down.

And cover it with a small piece of clear mylar.

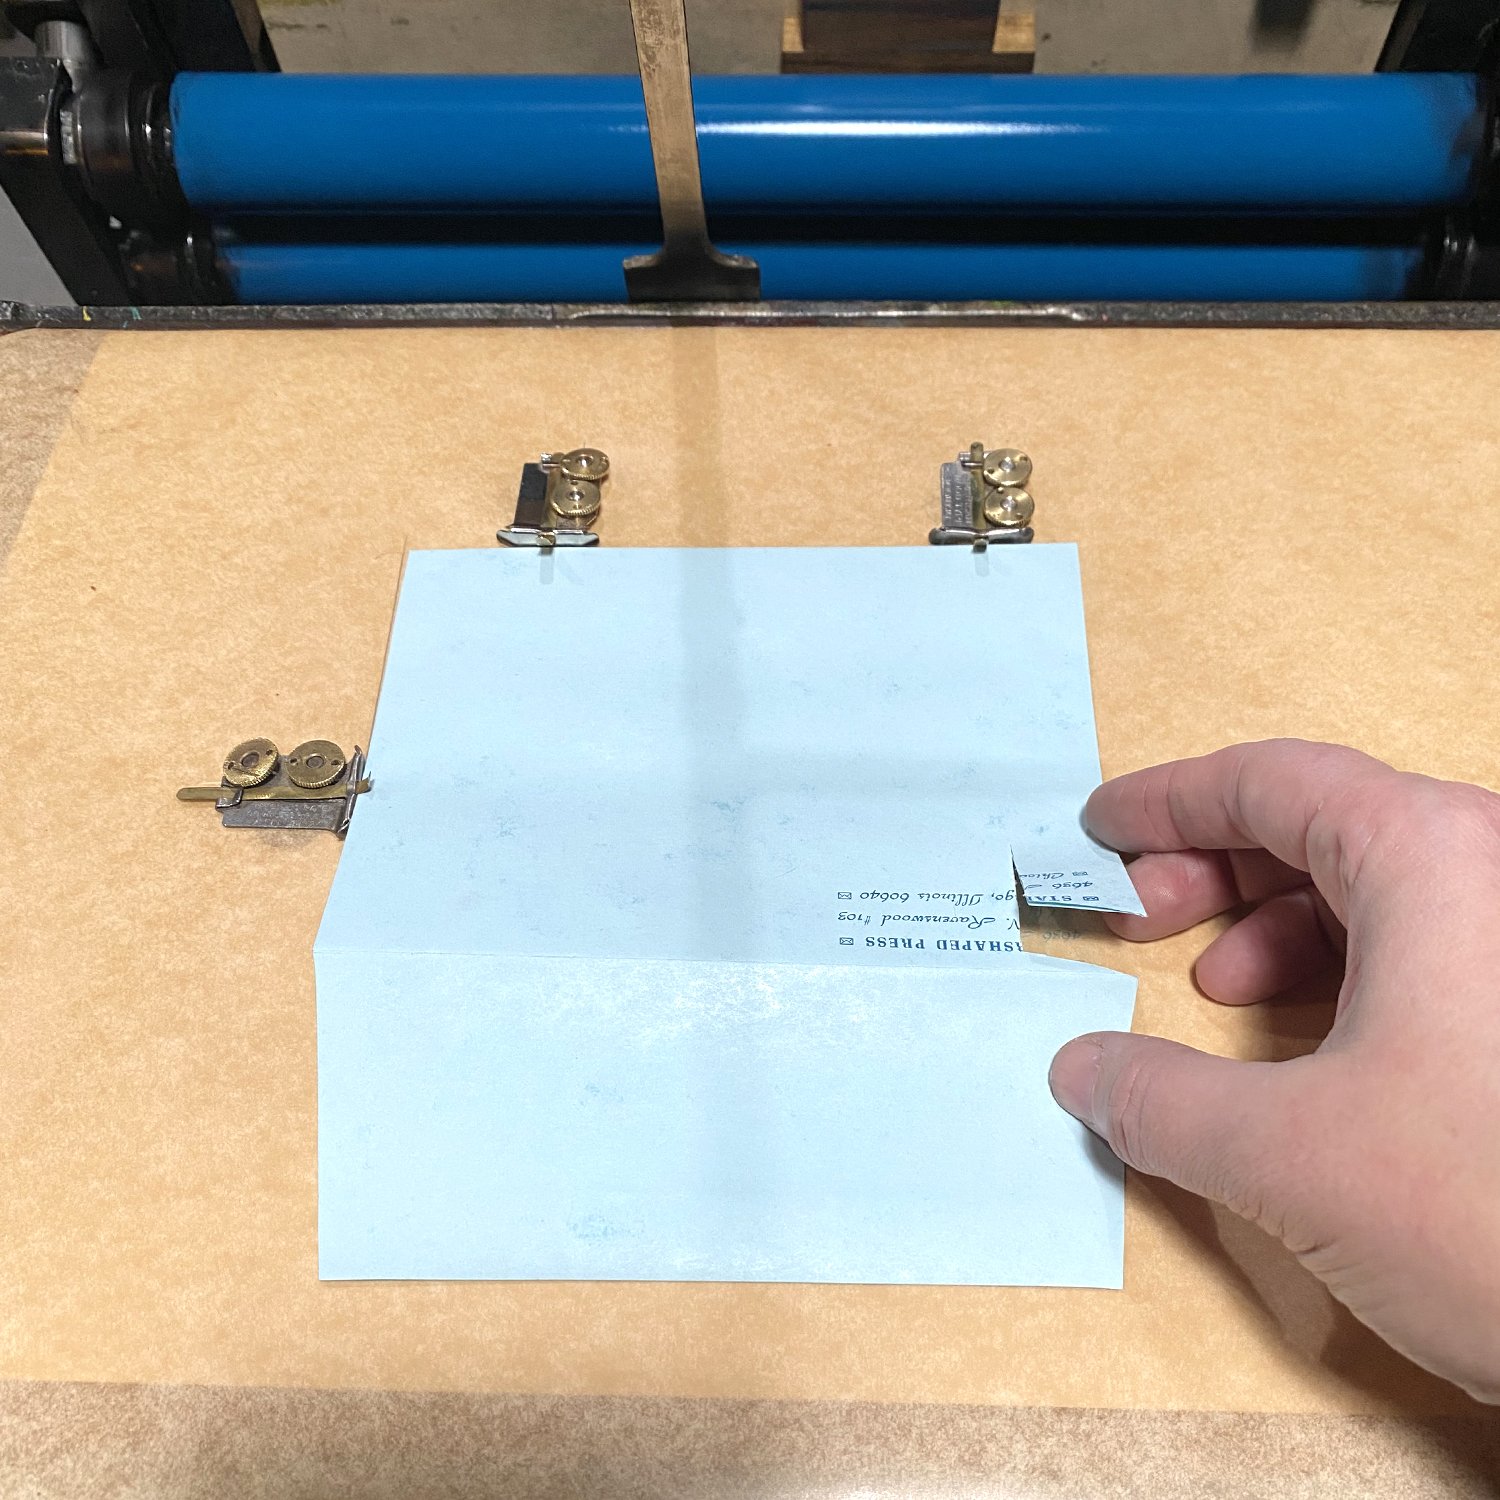
The nice thing is that you can see the text run across the tympan and onto the piece of envelope you’ve cut and you can easily make minute changes if the placement is slightly off. Yes, in an ideal world, your makeready would be under the tympan, but I just want to show another down-&-dirty way to get things done.

I hope this shows a few creative solutions for printing envelopes on a platen press. Or anything that has multiple layers that force you to tweak your makeready for the best impression. It can be done with a little clever problem solving.
