
This weekend’s post is by Raychel Steinbach of Current Location Press, currently located in Chicago. Raychel is a longtime friend and fellow printer, often completing projects at Starshaped and helping make the studio run efficiently. Because her process for building prints is quite different than my own, I asked her to share it so we could explore other ways to achieve great results in printmaking.
I’m a pen & paper sort of person. I am trained as a fine art printmaker, not a computer-based designer. This makes my design process seem a little unorthodox to some; I work this way for a variety of reasons that make the translation of sketch to final print go smoothly. Jen asked if I might peel that layer of the onion back for you all today.
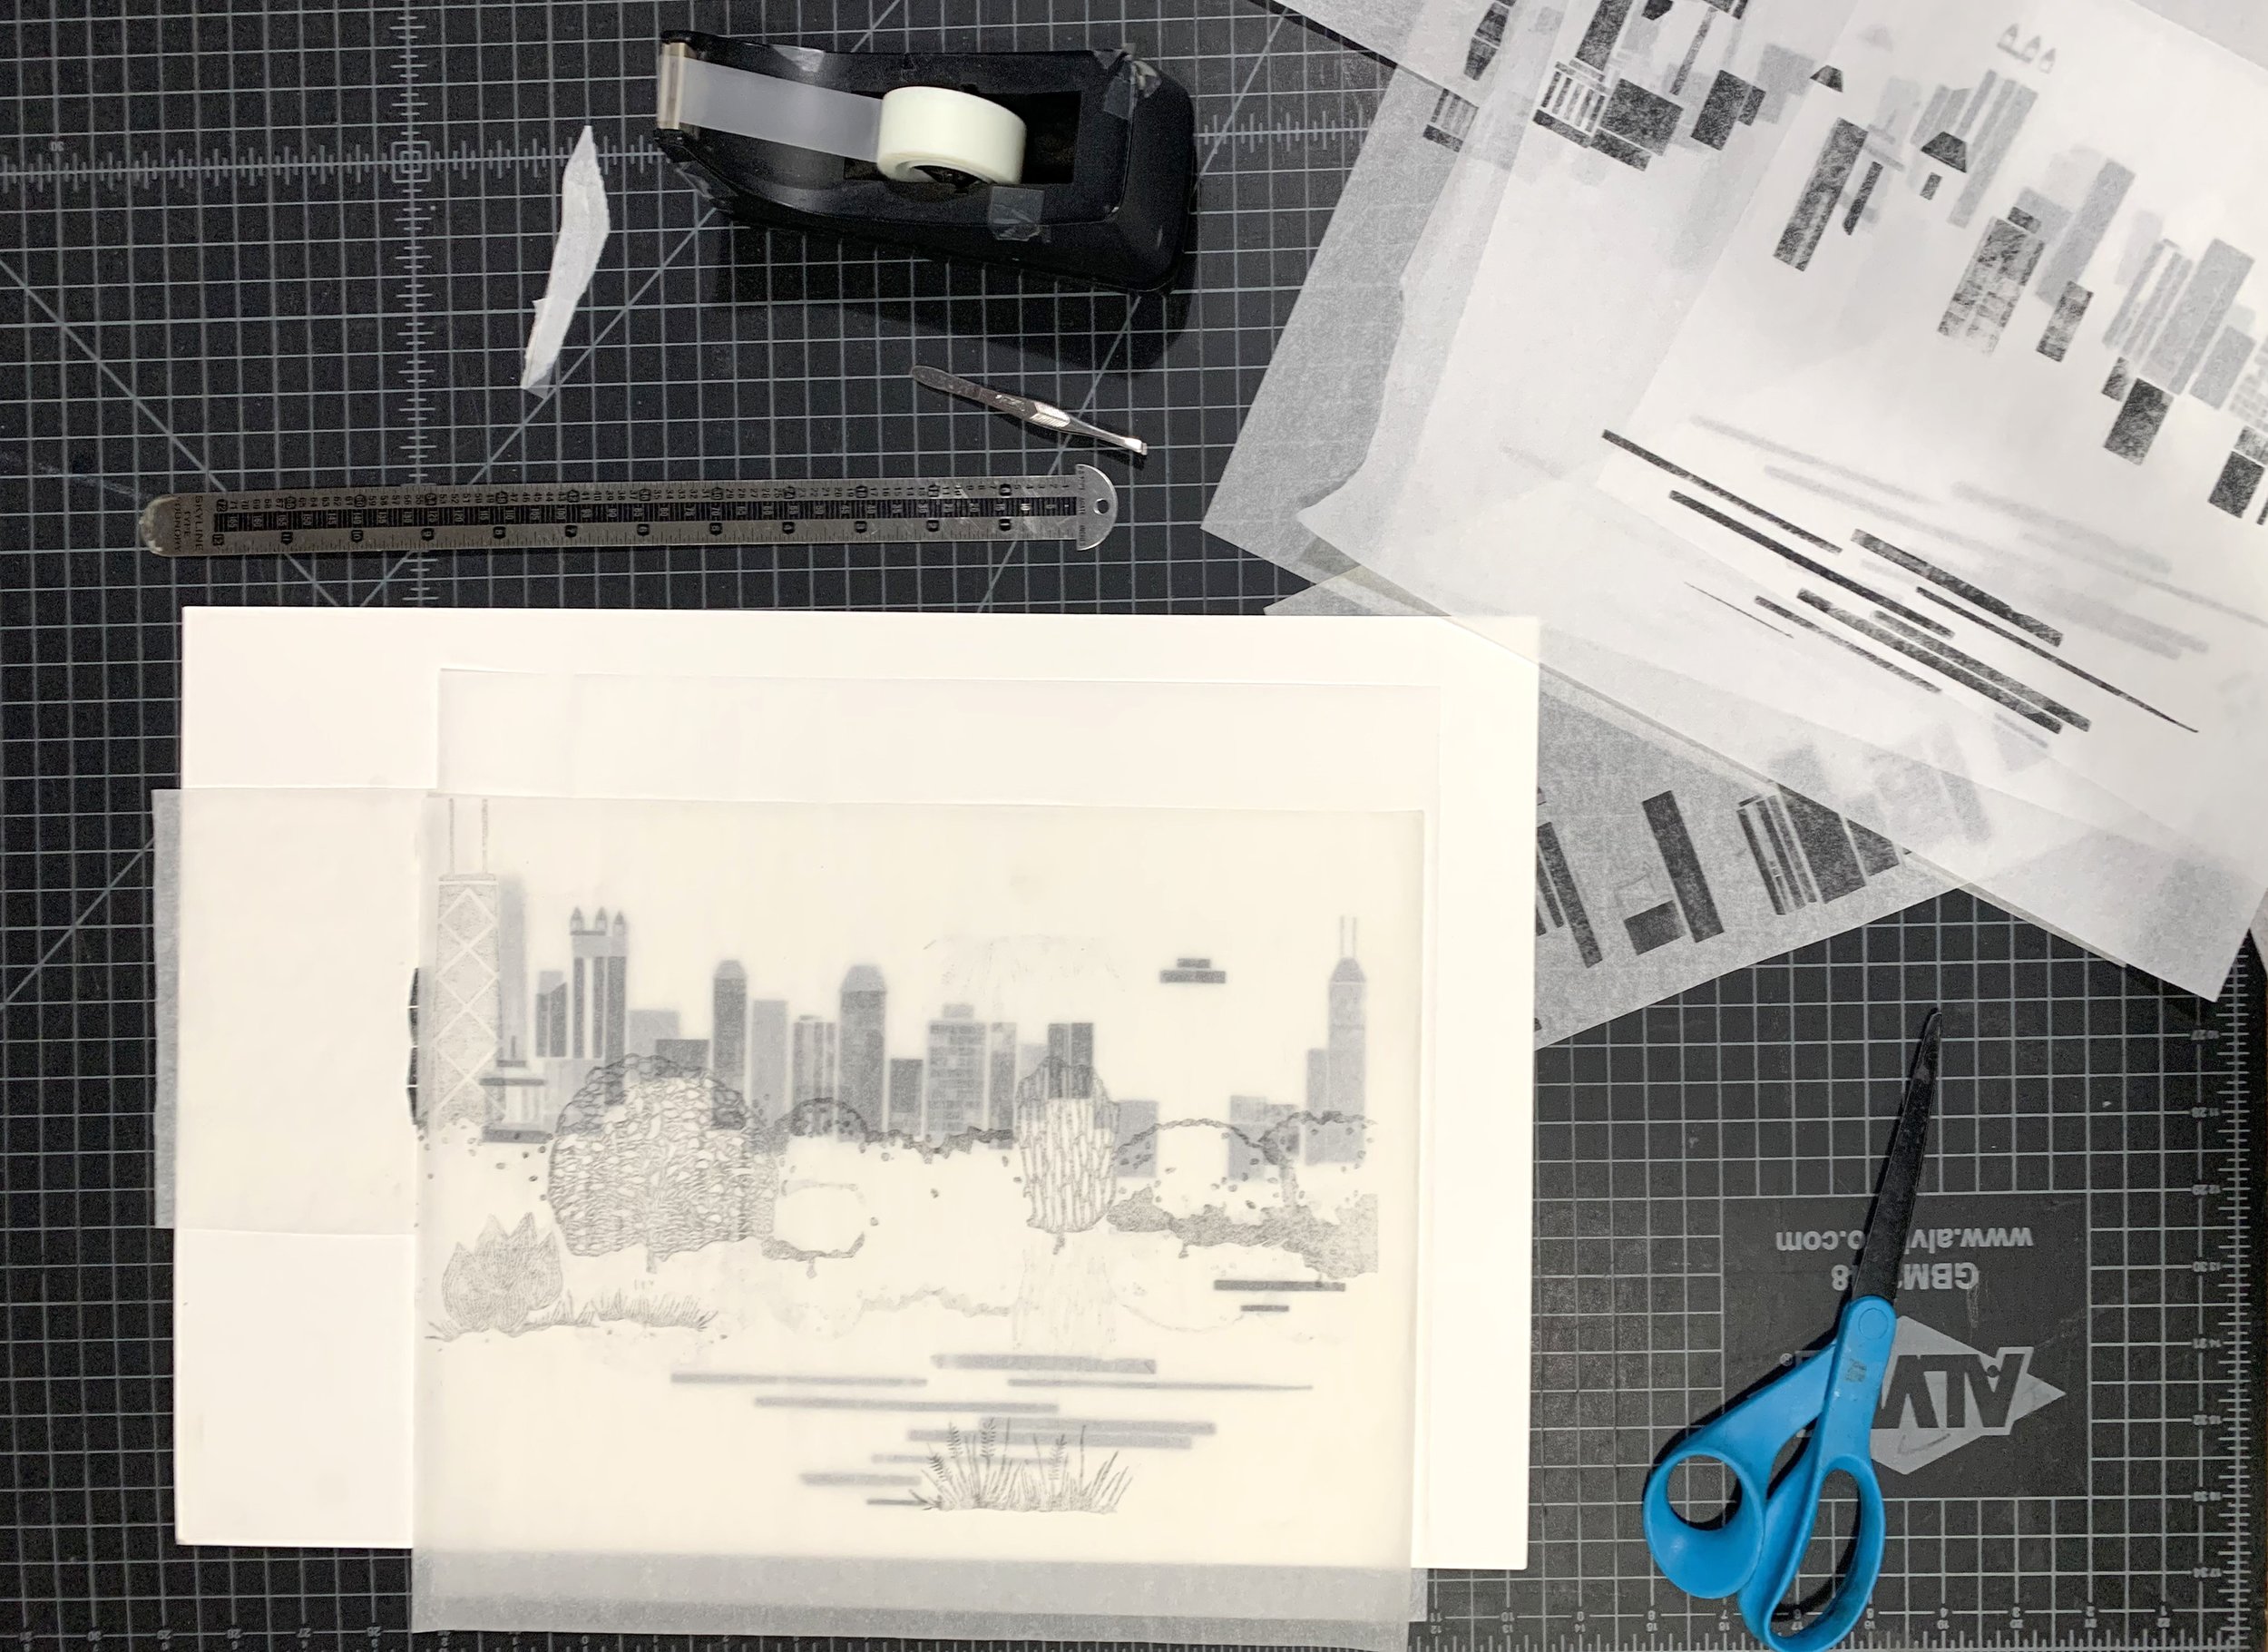
My design method involves tracing paper at almost every stage of the process. I prefer to sketch the general flow of the print on drawing paper and then flesh out various elements on pieces of tracing paper. This allows me to cut, move, and layer things so I can make adjustments without having to redraw each time. Here are several iterations of my newest print “Urbs in Horto” for you to get a general overview of how my design process evolves.

I utilize the photocopy function on my printer/scanner often to play with scale. By enlarging/reducing various elements of my drawings, I can cut them out and collage a better composition.

Once I’m fairly happy with a general layout, I draw each layer on a separate piece of tracing paper to make the final tweaks to how each color will play with ones before it. As you can see, I still make manual edits at this part of the process, too.

Now it’s on to setting my forms for the background color fields and carving my block for the key layer. I utilize Virgin Wood Type scraps almost exclusively for the abstract color layers because they’re inexpensive, not precious, and I like the reuse aspect. I set these crazy forms on a galley and since Jen’s Vandercook has a removable bedplate, this makes printing wonky forms a breeze! [Thanks for letting me use your studio, Jen. <3]

I like to layer a piece of white paper, tracing paper with my form drawn on it (and so handy because I can easily flip it to see it wrong-reading!), and then a piece of mylar on top and set my form onto this little sandwich. I know – it seems strange – but it’s tried and true! Make sure the white paper and mylar are sufficiently longer than your form so you can remove them easily. The mylar makes these extra layers easy to slide out before I go to press and the white paper on the bottom plays double duty as making the drawing easy to see as well as allowing the tracing paper to slide out without tearing under the form. Pretend along with me that the form shown here is the same as for the rest of this post…

Then we are on to the last, but not least, way in which I use tracing paper – proofing overlays! Before I actually put ink on press, I like to run a carbon paper proof of each layer and make sure they line up like I intend. Since the layers are especially tight registered for this sort of harebrained printing method, this step is absolutely crucial.
And four runs later… I have a finished print!

You can find Raychel’s stellar work at Current Location Press.