
While setting a few simple type forms lately, I realized there are things I do repeatedly to make the process go smoothly that might be helpful for others to think about, especially if you’re early on in your typesetting journey. Here are four of them, starting with line spacing.
Note: This post assumes a basic knowledge of typesetting, spacing and setting up forms. If you’re new to printing, go back to this post on spacing and go from there.
After a block of text is set and ready to be locked up, I add a few thin leads at the top and bottom. This way, if I find I want to adjust the line spacing within the text block as I’m working through the makeready, I have leads built into the form that I can easily pull without having to adjust all of the furniture around the block.

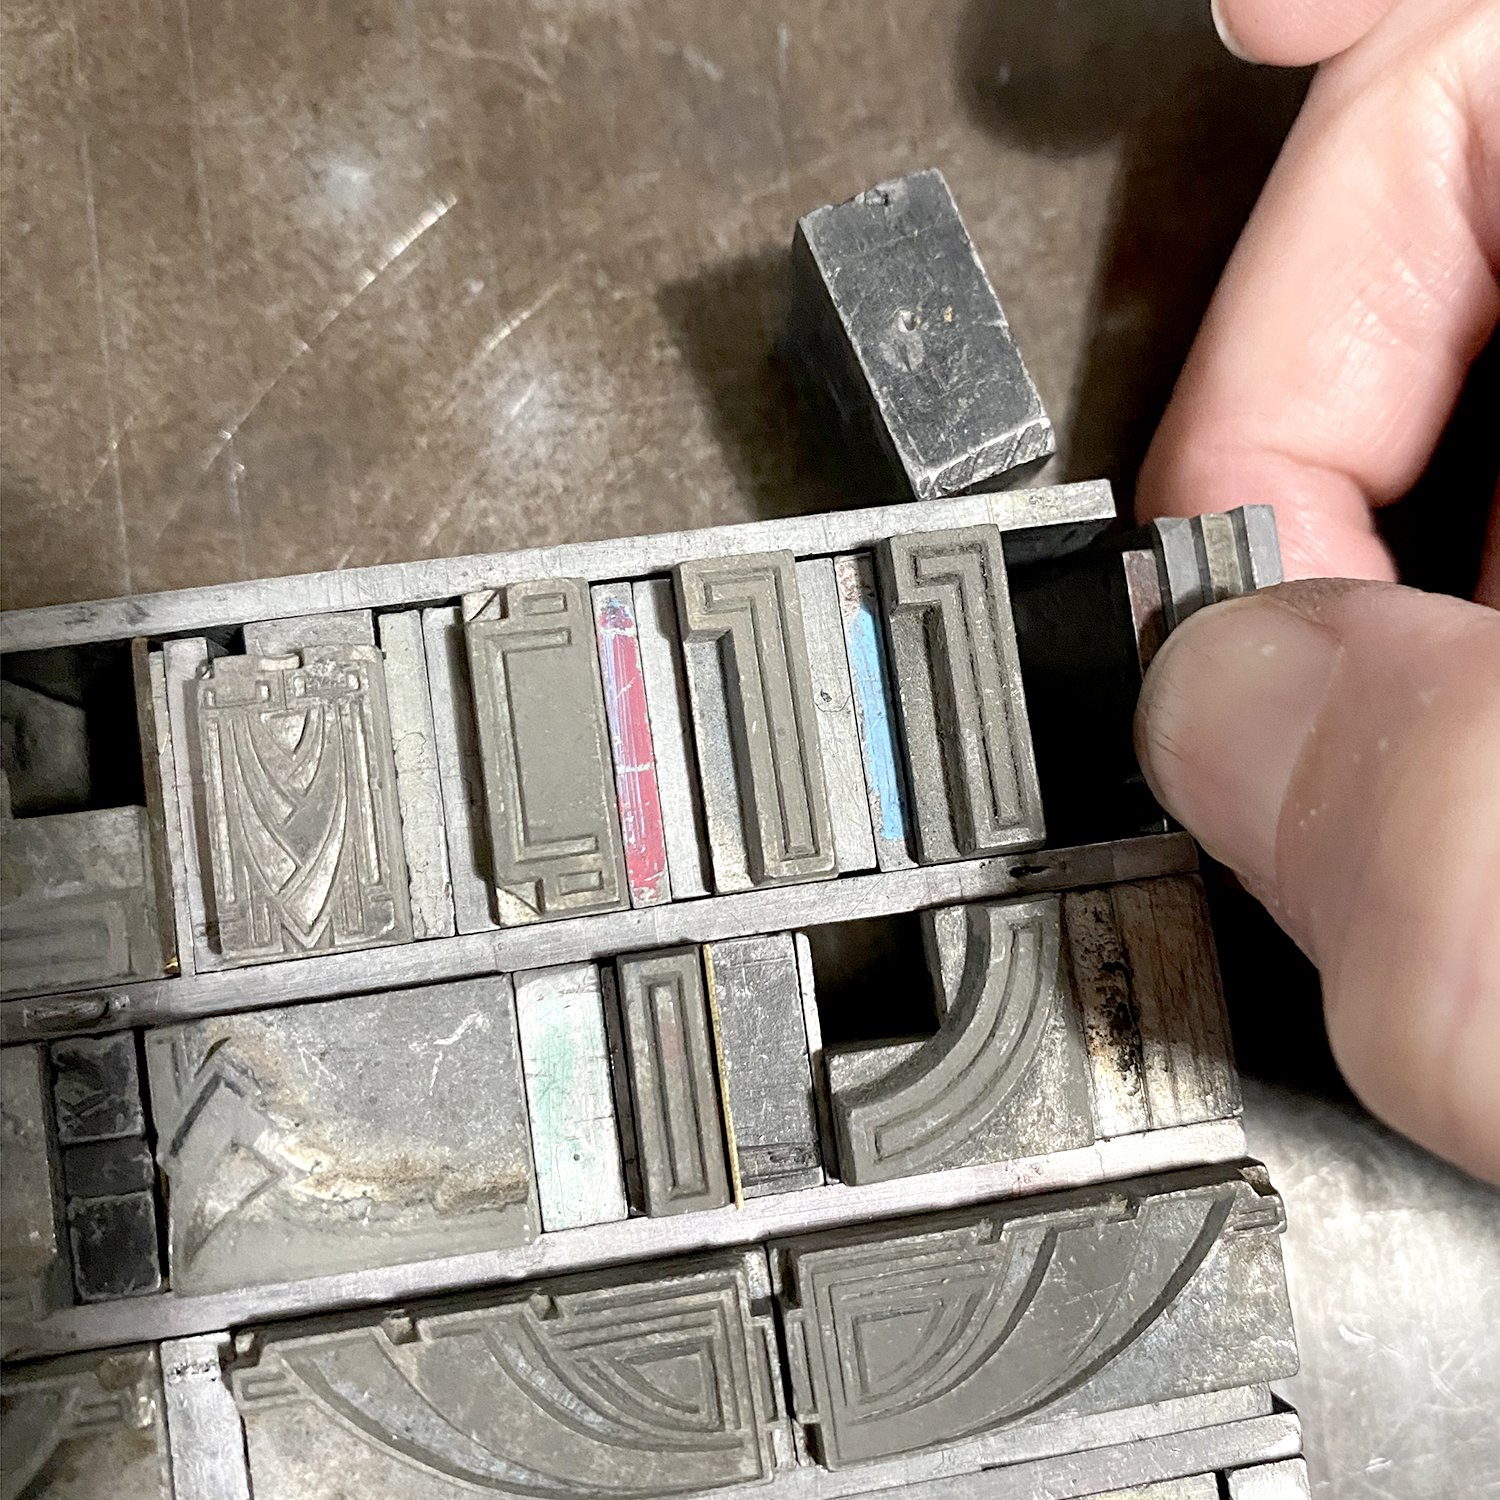
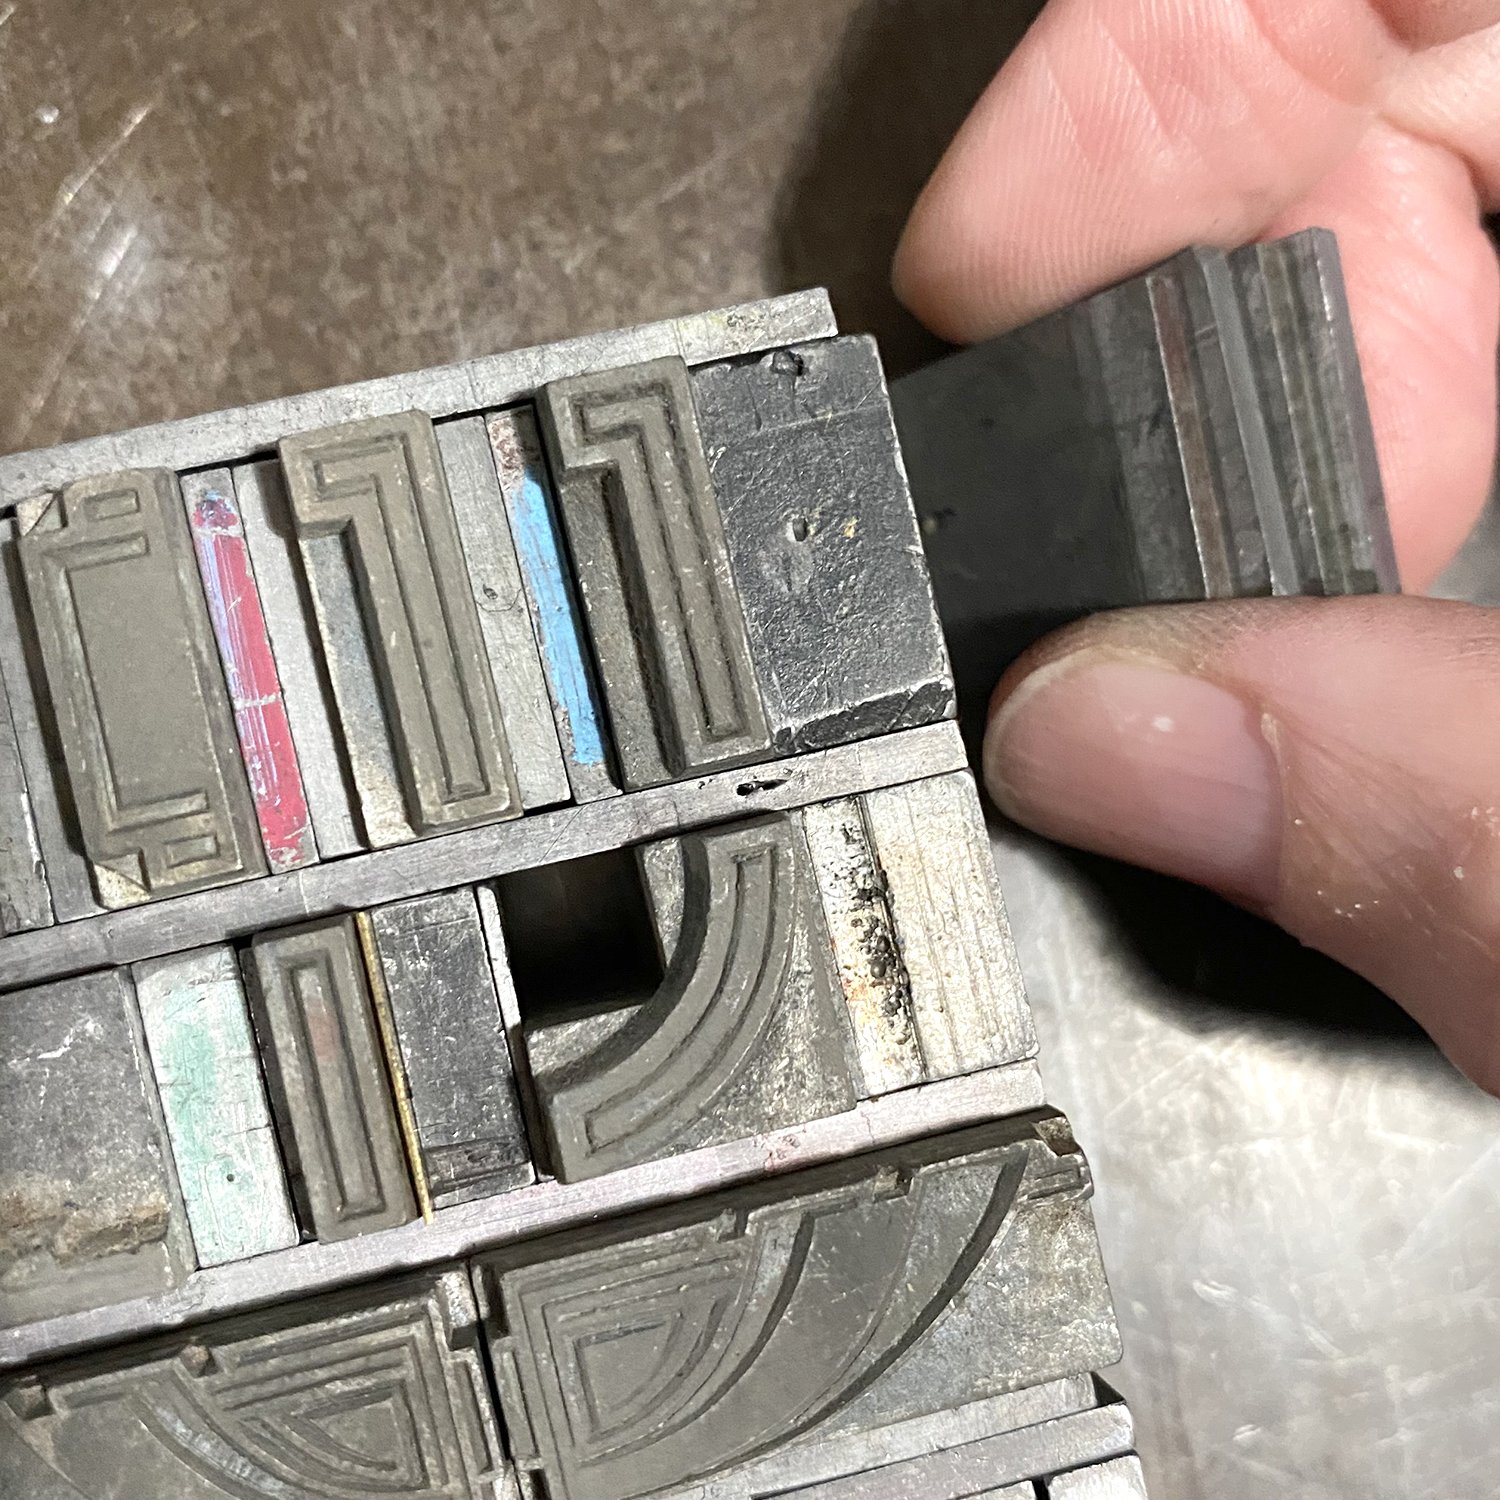
Another thing I strive to do with forms is to keep the largest spacing in each line towards the outside edges of the line. This way, when you slide the block from the composing stick, the spacing material at the end of each line is much less likely to fall over. If you put the thin spaces at the end of each line, they will definitely fall over when the form is removed from the stick. Annoying!
In the below image, em quads are at the end of all lines, with thin spaces tucked in towards the type.

While setting some orphan ornaments to proof below, I used 4 line (4 pica) slugs as spacing while I figured out the ornament placement. Then, when I realized there were 4 slugs at the end of each line, I swapped them out with 2-em 24pt quads because the math is the same. It’s not necessary but it’s one less thing that will potentially fall over when I’m sliding it out of the stick onto a galley.
I know many people tie up their forms, but I rarely do. Most are set quickly and printed just as fast and almost no forms in the studio stick around after they’ve been printed. Printing is often about finding what works for you in this day and age and my general rule is if it doesn’t hurt you, the type or the presses, then it’s fair game.
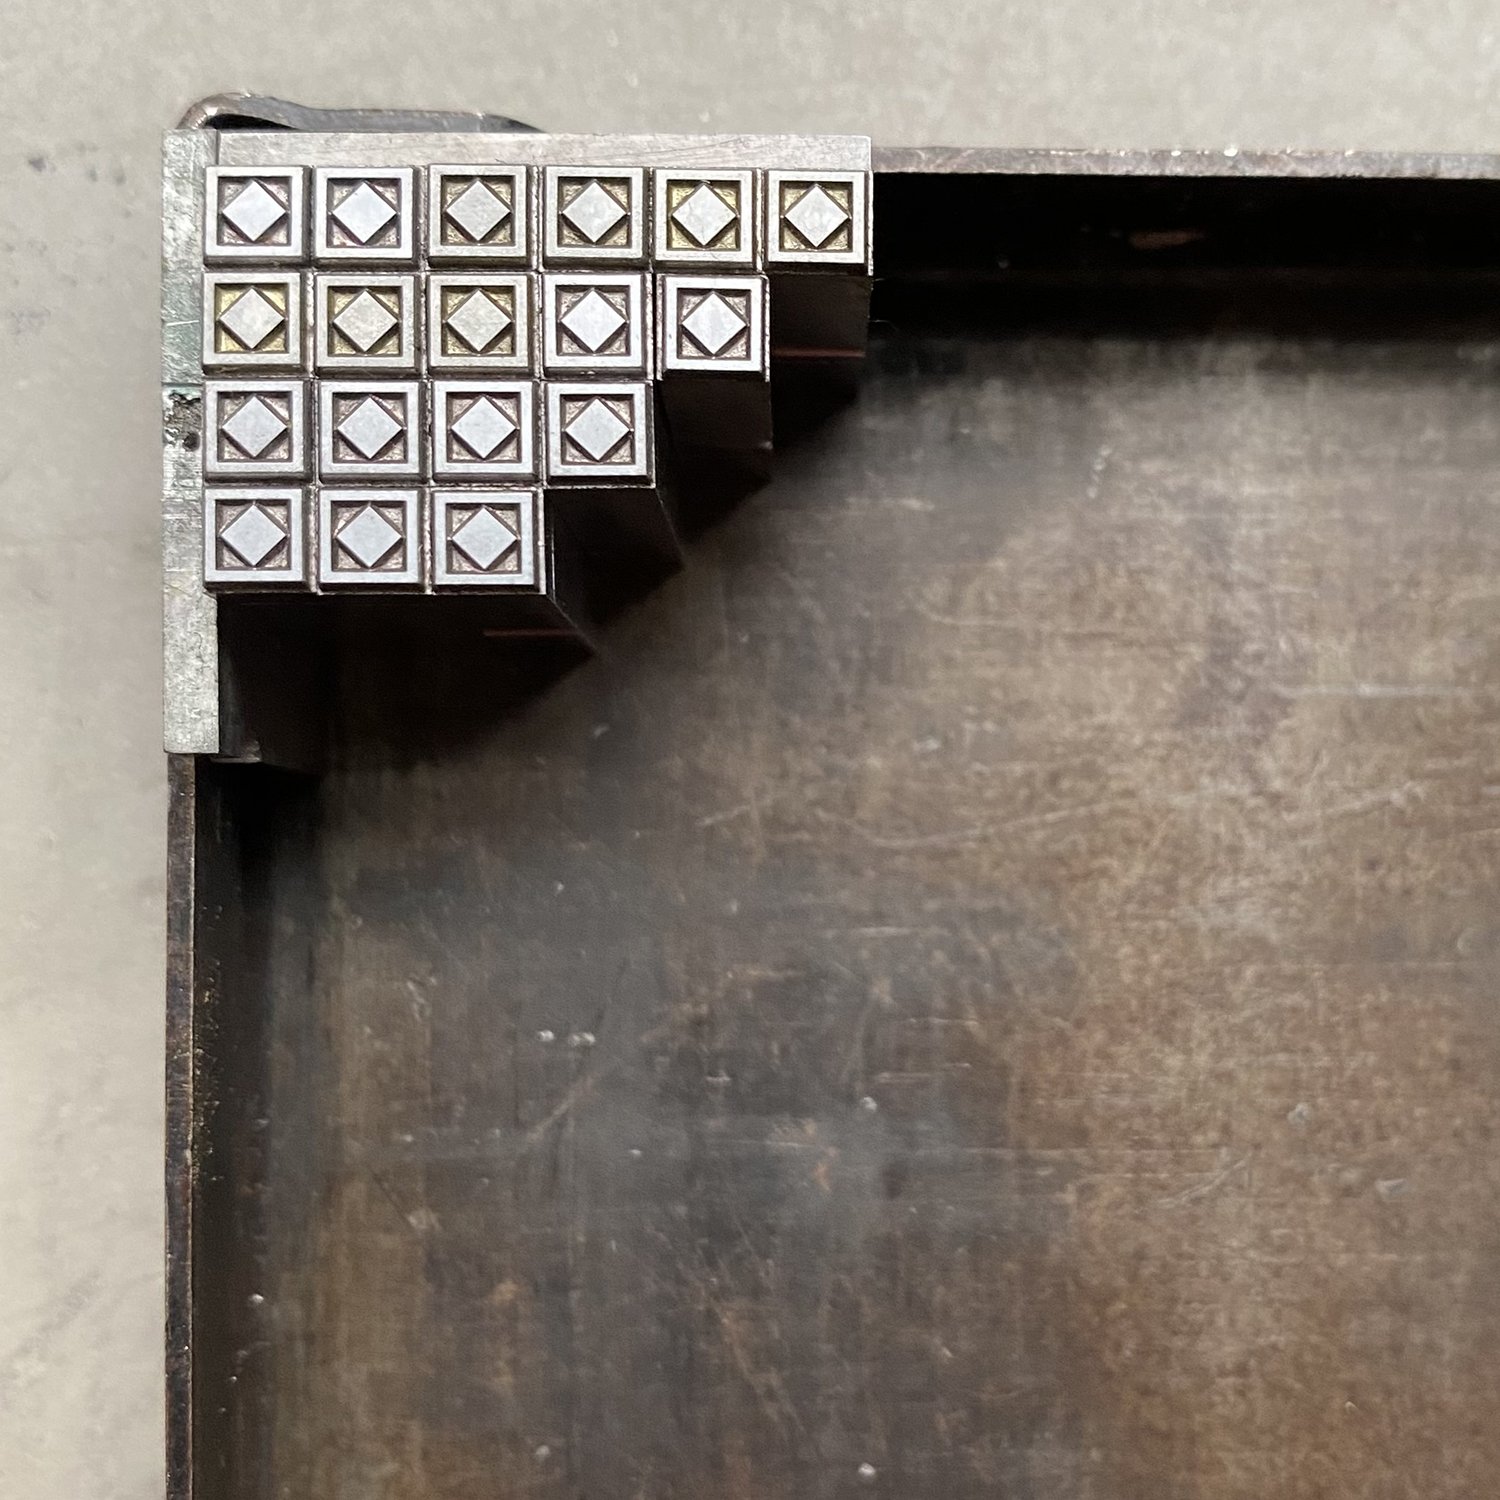
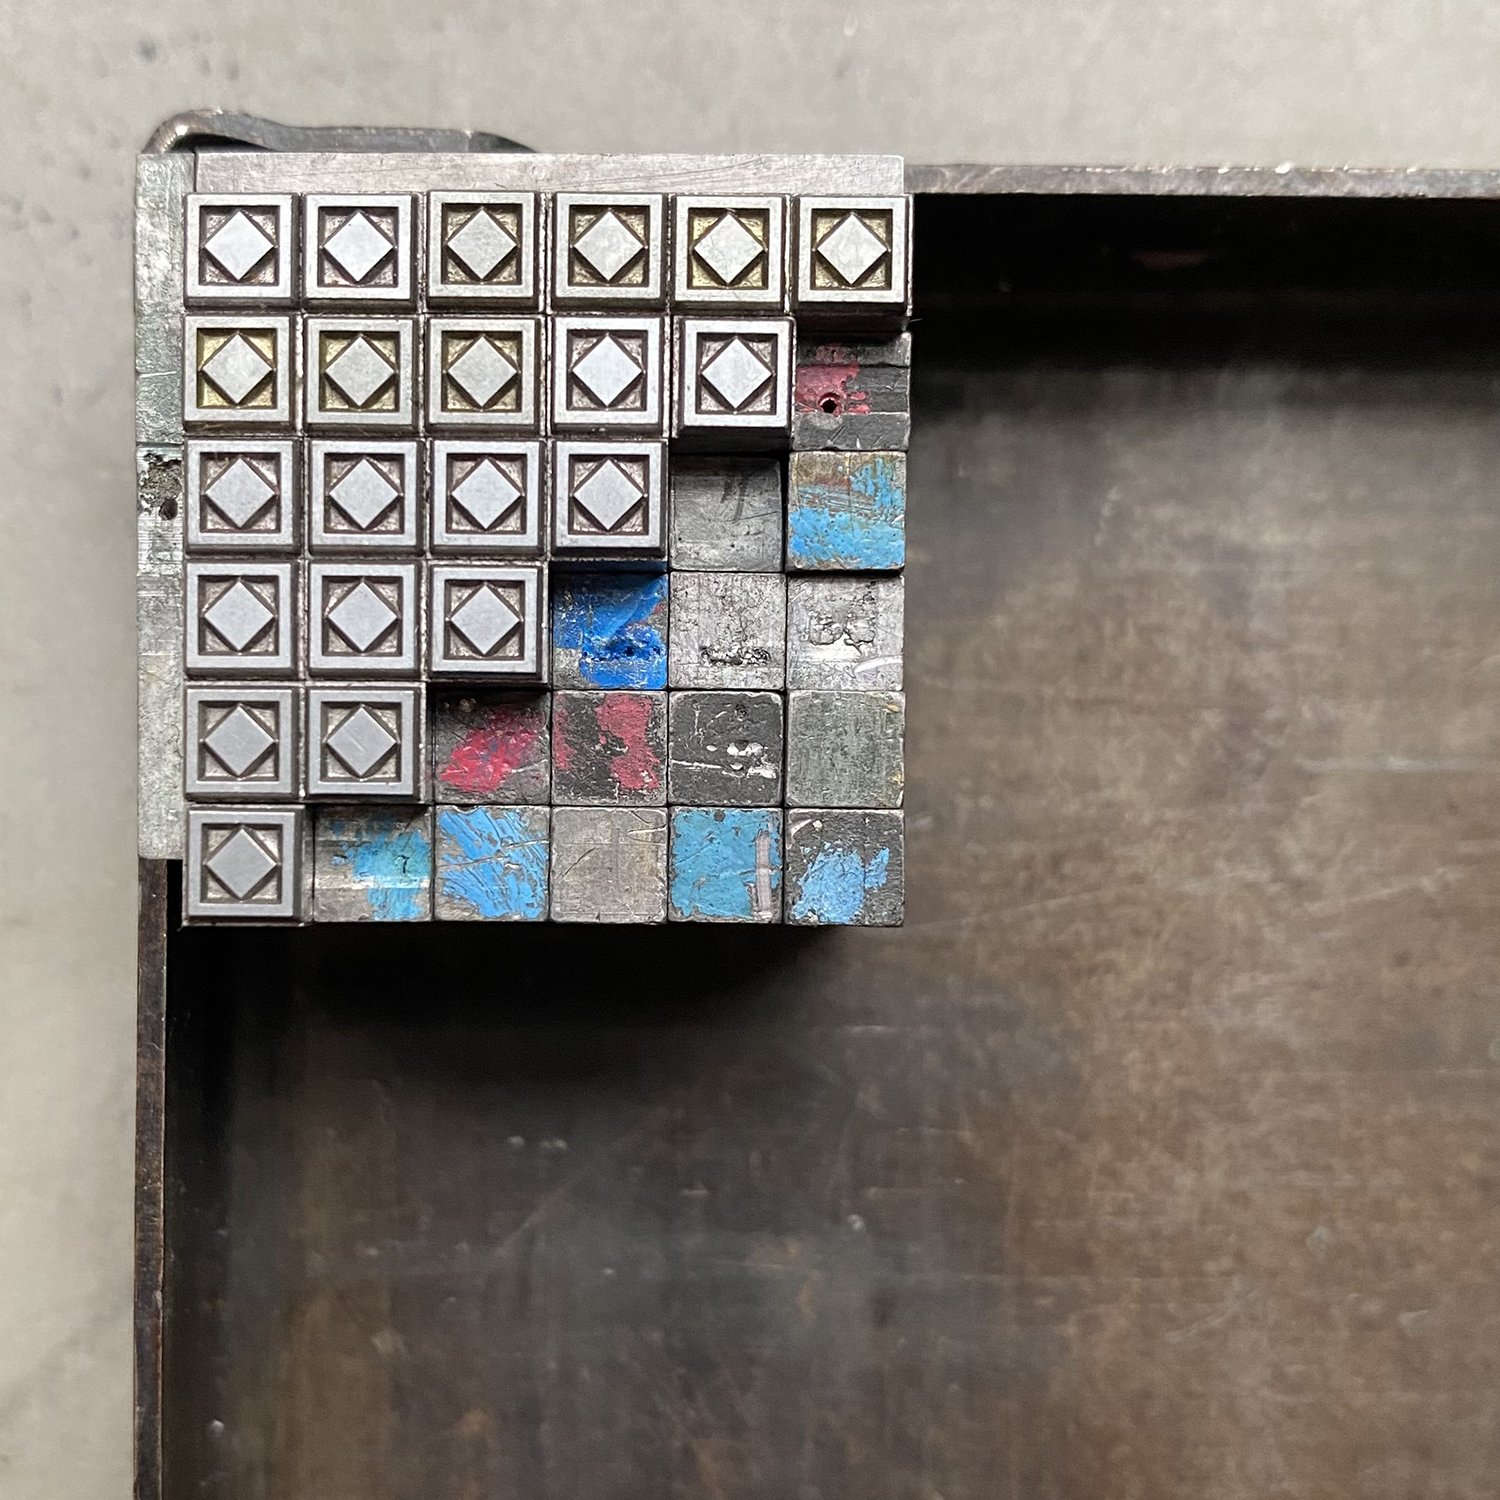
Sometimes spacing can change as you build out a form, as illustrated below with 12 point ornaments. Because I built it line by line, I added 12 pt em quads, line by line.
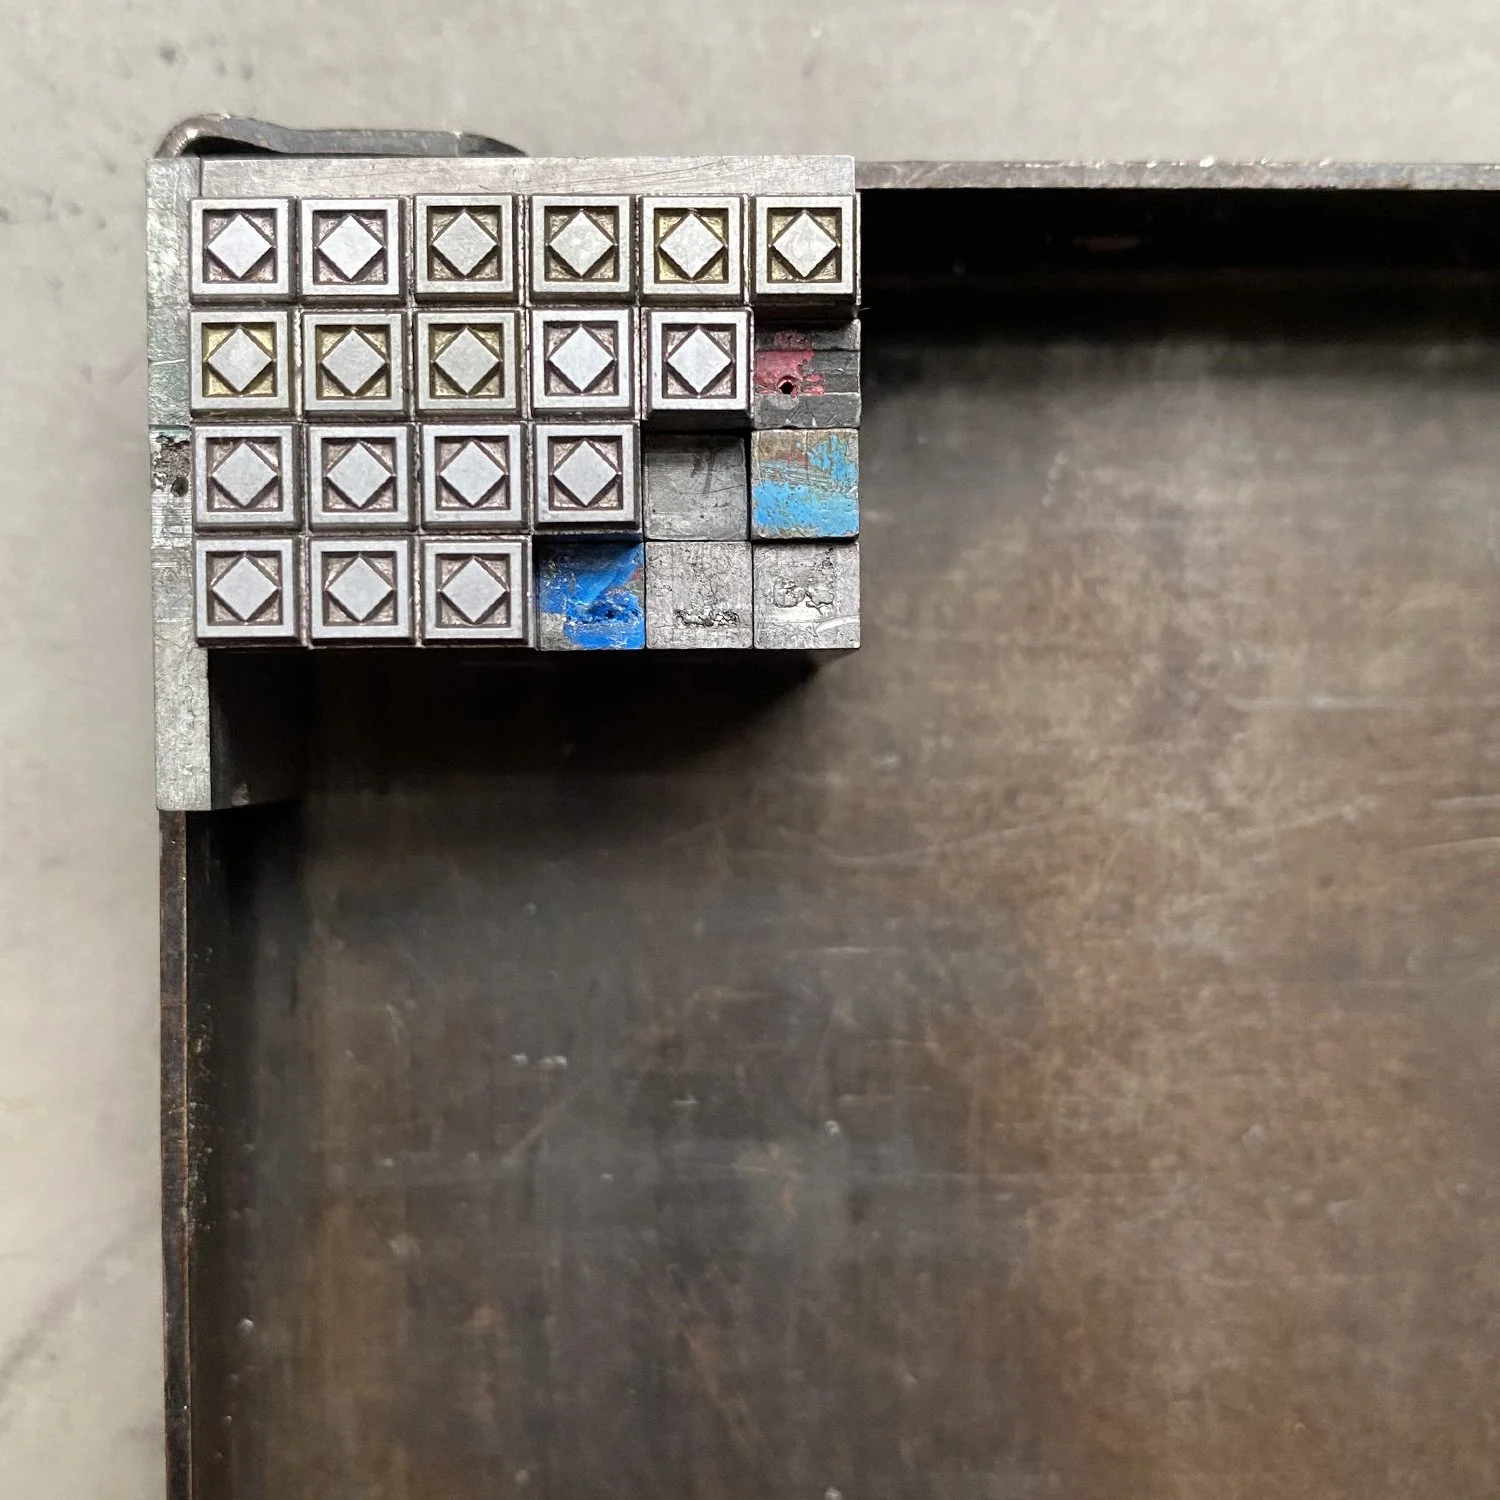
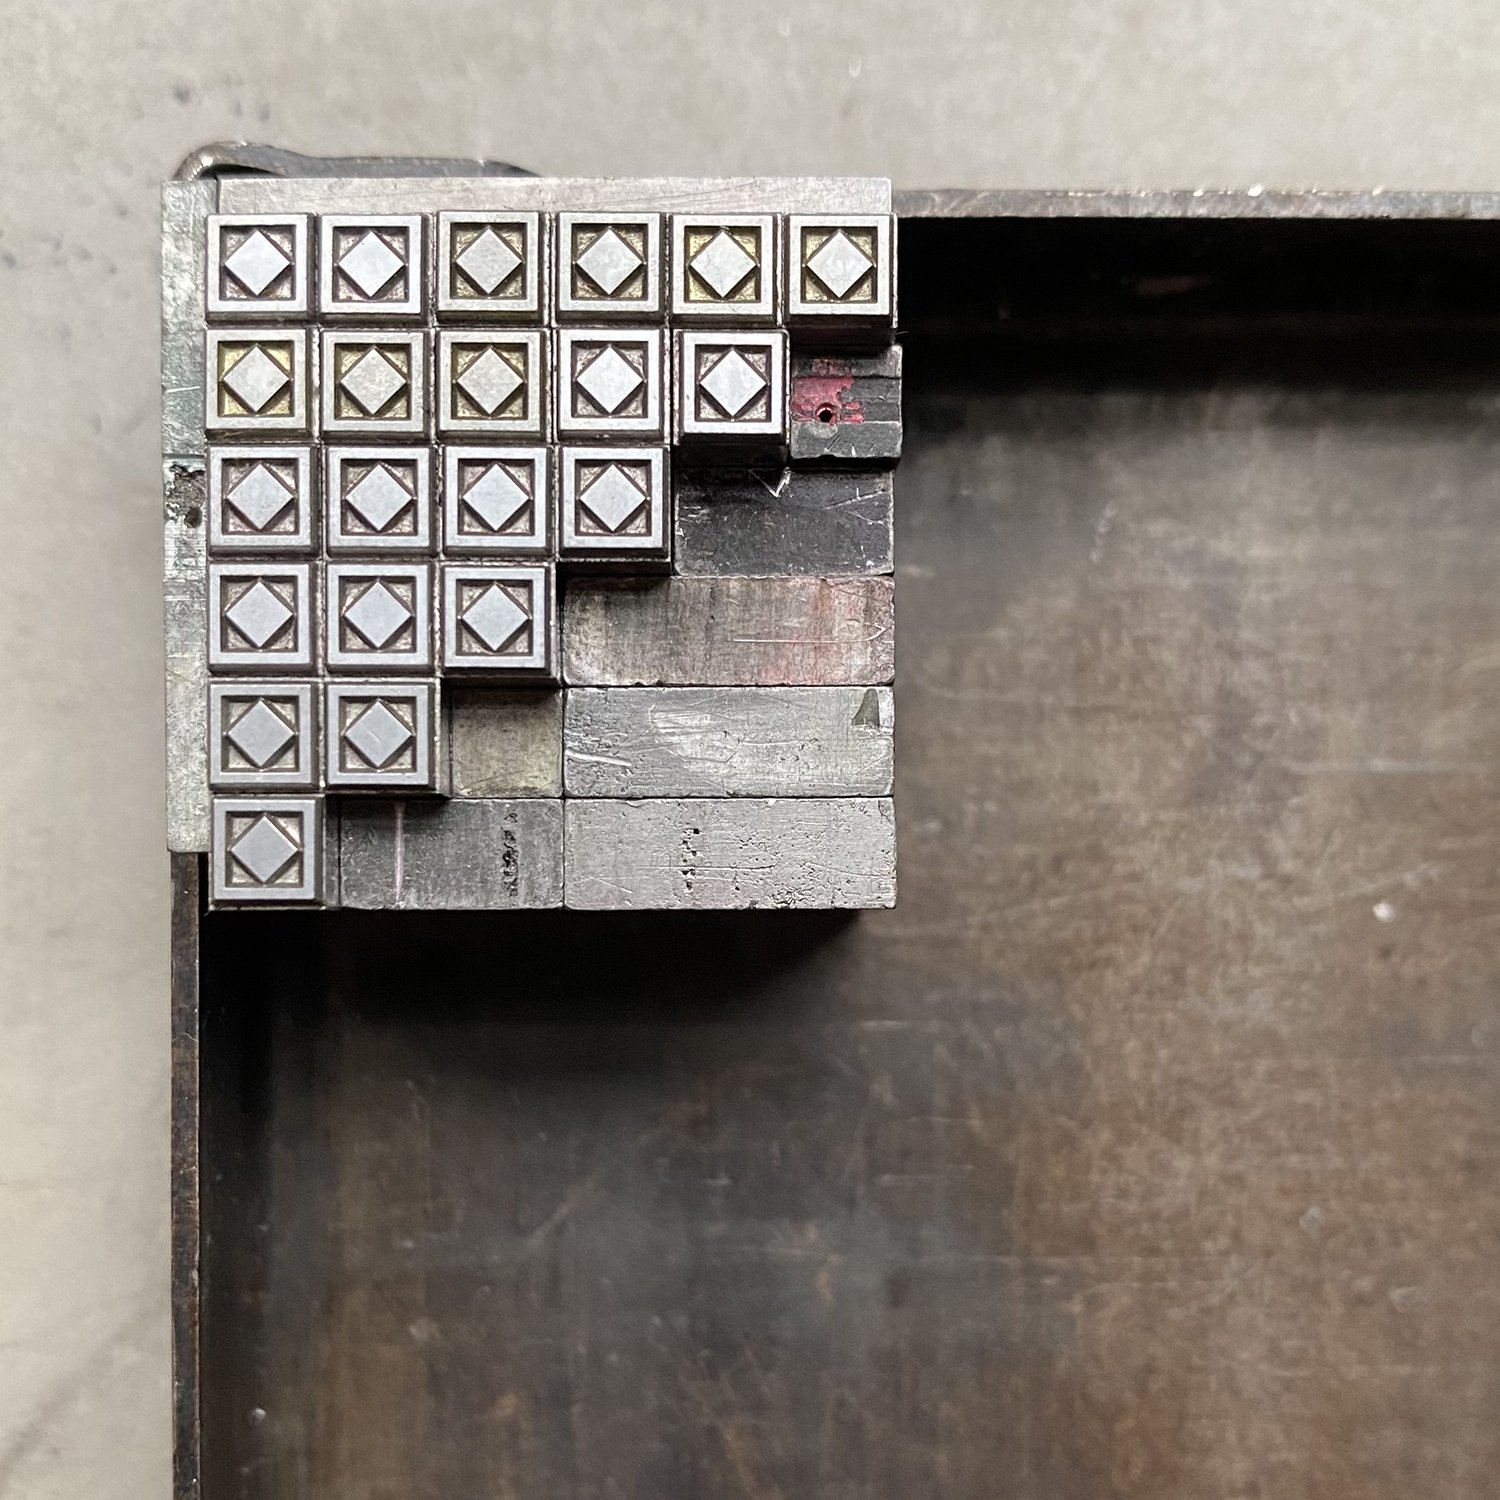
But then it becomes apparent that’s a lot of individual em quads. I don’t love this as it’s too many moving parts and given the age of some of the spacing, one nick on one piece can throw off the integrity of holding them all together well. I swap them out with larger spacing material to minimize these potential issues. The second images shows changing to 2 em and 3 em quads.
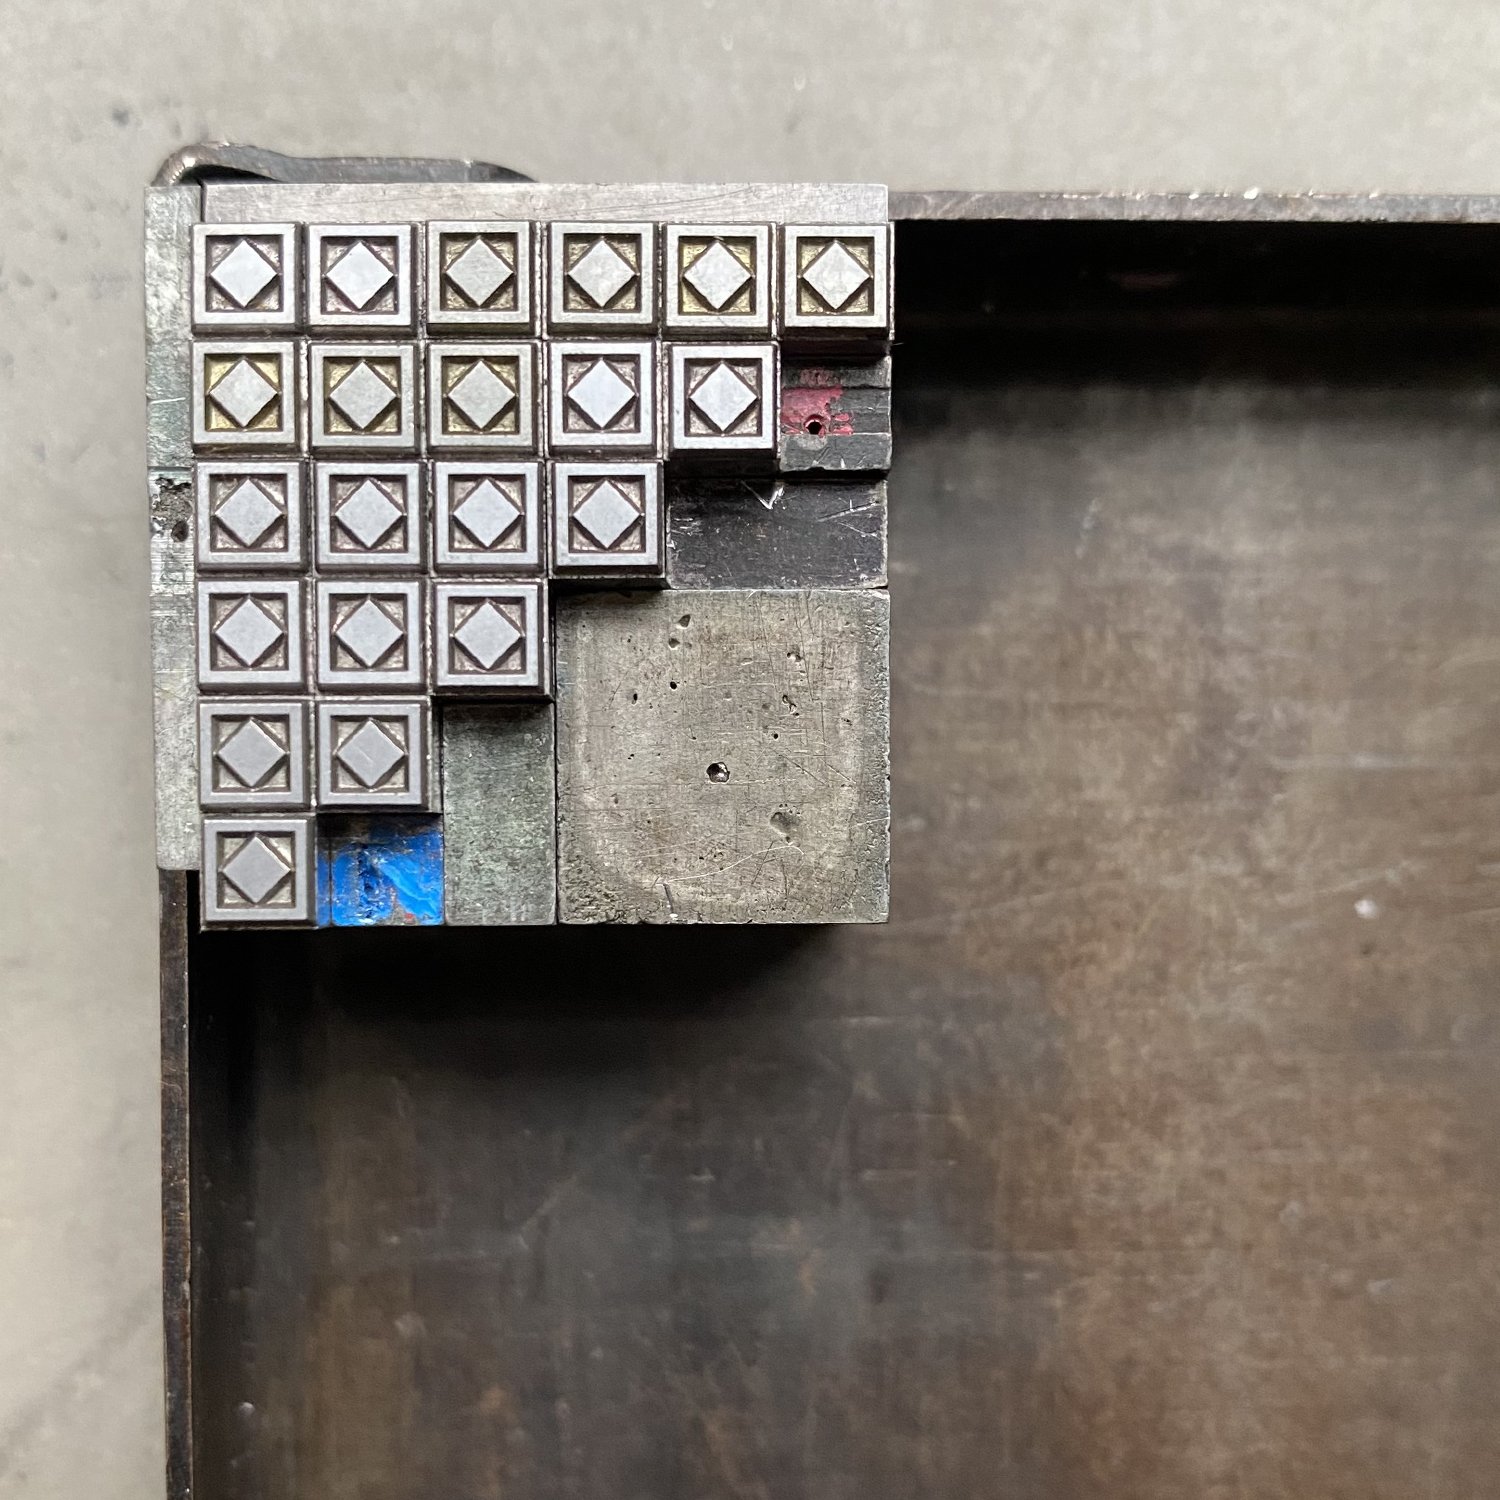
But my preferred solution would be a 36 pt em quad, with 2 em quads. Then you have as little spacing as you can and the least amount of potential trouble. Less is more!
And finally, I try, whenever possible, to set lines to standard furniture lengths, like this 25 pica length block below. That way, when you go to lock up your form, you have the most even distribution of pressure across your text block. And adding slugs to keep the side furniture from binding against the top/bottom furniture is also helpful (when the furniture puts pressure on itself and not the actual type form).
This isn’t always possible, but it’s a good rule to follow when you can.

I hope these are a few things to think about as you’re setting type! The more you do it, the more you encounter your own ways to expedite the process and solve problems. There are often as many ways to deal with issues that arise as there are printers, and I’ve heard conflicting solutions from printing teachers and those with decades of experience in the field. Regular practice is what makes you better, in printing and just about every craft.