
I know it’s fun to throw a bunch of big, juicy wood type on a Vandercook, slap some magnets down and go to town with it. I am often asked how I turn out a lot of work in a short period of time and it’s because I DON’T do that. What seems like the fast way is anything but, and if you want to learn a few tips to do it right, read on.

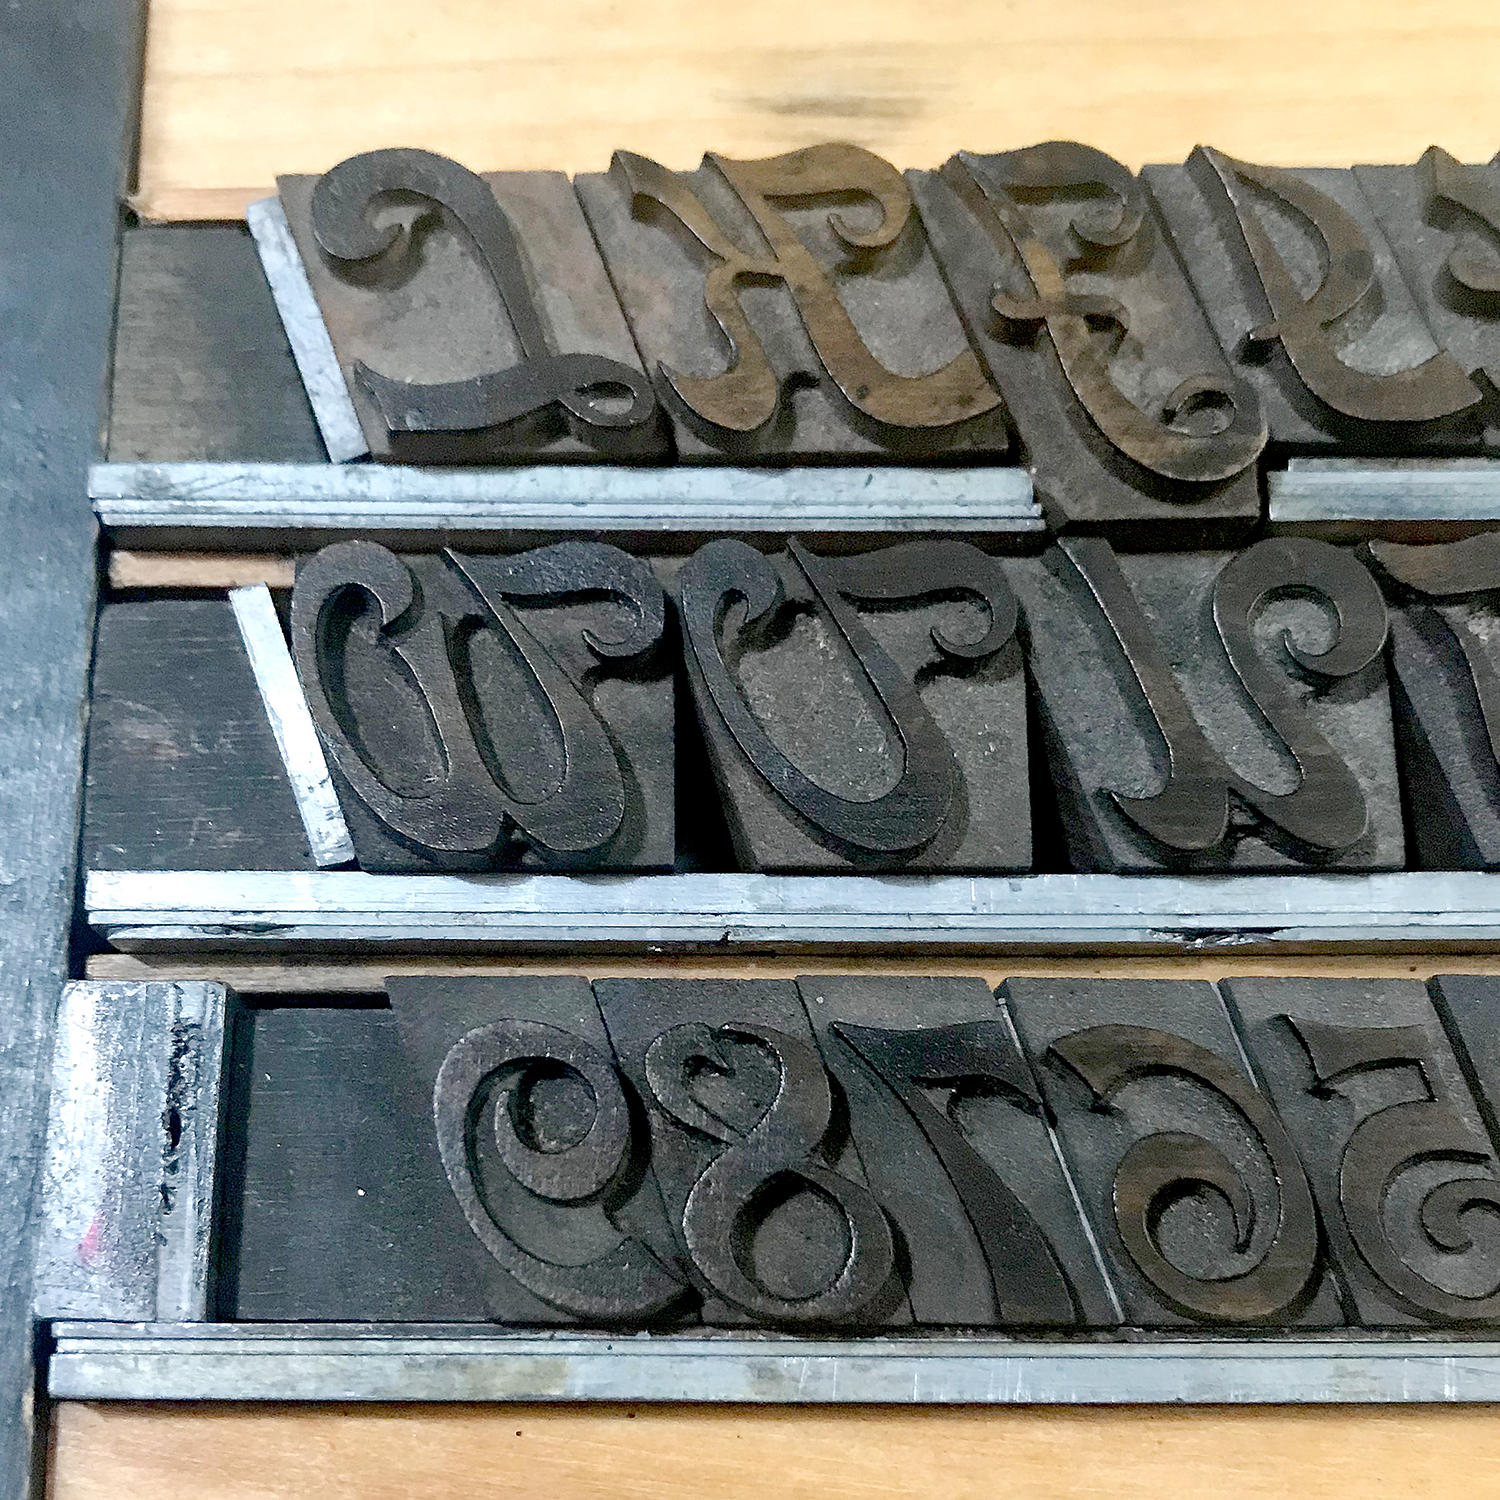
If you’ve ever taken a workshop with me, you know I harp on about the math of letterpress nonstop (go ahead, eye rollers.) But the math is your friend and it’s not hard, especially with wood type. As we are in the midst of proofing Starshaped’s collection of wood, I snapped a few shots of intern Brea’s fine forms for this process.

There are dozens of support materials to help you achieve a form that’s built to last for multiple, consistent impressions. The first thing I do is consider the width of the form I want to build and try to keep it to standard furniture sizes if possible; the above is set to a 50 pica width. Then I place side supports (also furniture) that can run the entire length of the form. Now you know each line within this basic structure has to measure 50p.

Use small furniture, leads and slugs that are ALL the correct size for the type you are setting. I can’t stress this enough. It will keep your form from busting out or bowing when locking up. Don’t have all of these things? Now you know exactly what you need to go get for your shop right now. Small metal furniture isn’t hard to find and you can cut leads and slugs (get a slug cutter!) to the correct sizes. Got a saw? You can cut your own furniture until you get your inky hands on the real deal. Don’t guess and grab a handful of leads; measure the size you need with a line gauge.
If setting a number of lines of type with a particular justification and/or potential for kerning issues, put a little extra thin spacing (in the above this is 6 point slugs) at the end of each line. Then you can take it out if you need to make internal line adjustments. This typeface was particularly tricky given it’s cut on an angle, though it thankfully came with its own end spacing.
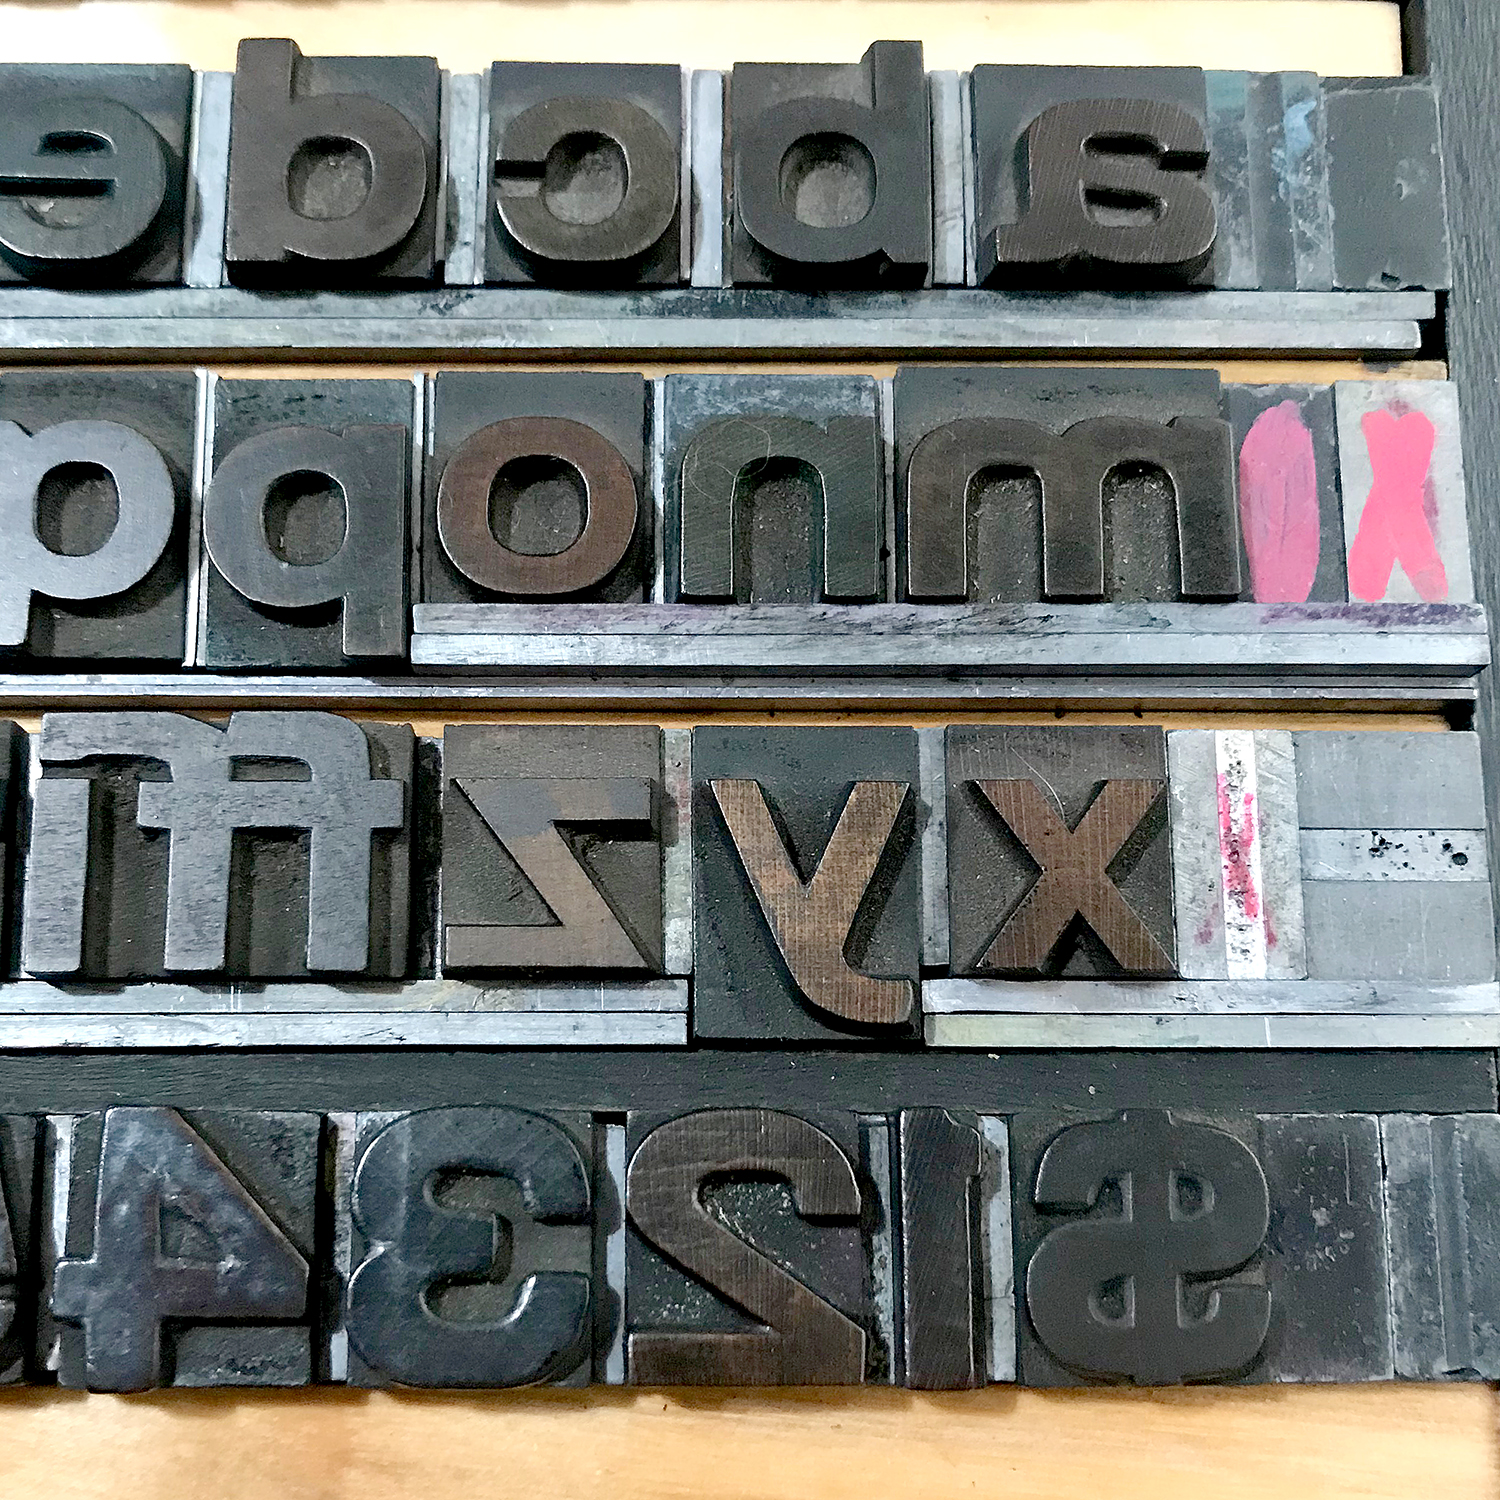
If you’ve noticed that some of your wood type, in particular the lowercase and punctuation, seems to be cut to different sizes, it’s critical you assess the correct baseline and/or x-height for the typeface. If you don’t have any training in typography, get thee to the library for a book on how type works and you’ll quickly see how ascender and descender issues have been dealt with in wood type. Most have been cut to align with either the top or bottom of each sort within the font, with an extra pica or two on the opposite side. This nice round number means… guess what? The math is easy! Measure from the side of your form to the descending letter (like those above) and fill it with the correct slugs.

This is what it looks like for punctuation. Some is clearly meant to easily align with the rest of the font but a few, like the semicolon and comma, really want to drop below the baseline. Floating your punctuation up over the baseline is amateur hour; take the little extra time to get this right.
The major benefit of doing the right math for wood type forms is that you will achieve a cleaner setup overall that makes it easier to solve problems or spot them before they occur. And it’s critical if you plan to create an edition, especially if you want to register a second or third color as type not securely fastened in its place (and magnets are not secure for the long haul!) will wander… so slowly you don’t even notice.
And if this straight-laced setting isn’t doing it for you, remember this. Crawl first, then walk. When you’ve mastered the art of the math then moving to more elaborate, grid-busting forms is easier as your brain is now trained to spot how to consider correct technique that works with the type, even when you’re asking it to step outside of its comfort zone.