
Leads, slugs and rules... usually this strip material is pretty straightforward but I'll do a quick recap in case any stragglers in your shop end up somewhere they don't belong.
Here's a handy guide. We've been over leads and slugs but you may have come across high slugs that aren't type high (so they don't print) but are taller than normal leads & slugs.
Rule, meant for printing, comes as both lead and brass. I prefer brass for it's strength; the actual printing line is less likely to sustain nicks and holds up better. However, lead rule can be easily cut on a trim saw or with a slug cutter (brass requires more chutzpah.)
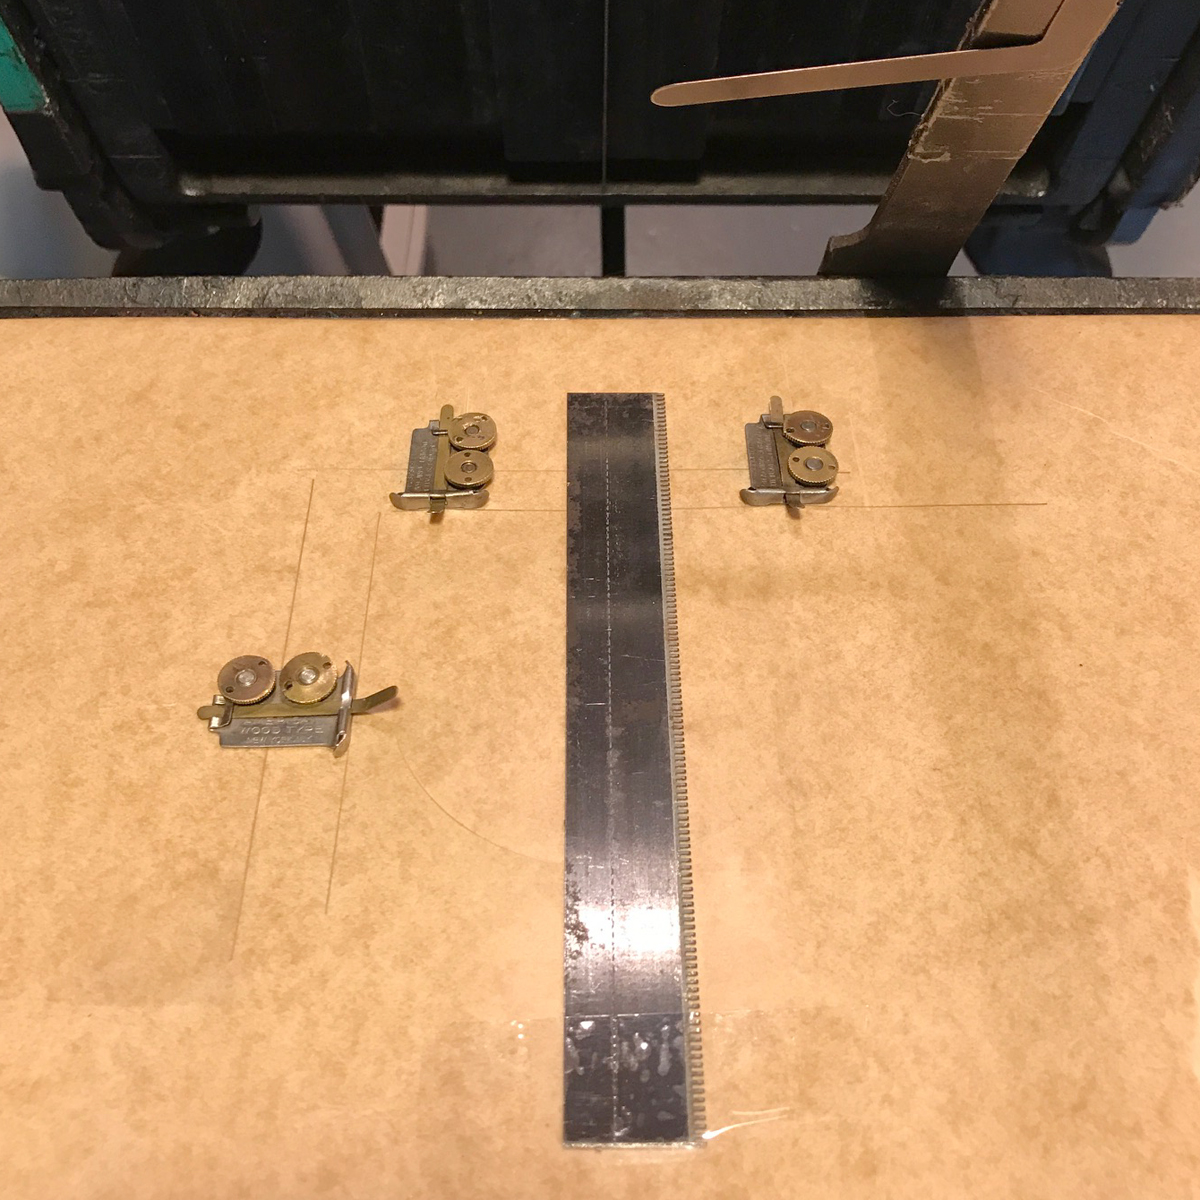
Perforating (sharp!) and scoring rule are made of steel so they can withstand a little more press action. Perforating rule comes with various teeth lengths. Steel is also not to be cut on a trim saw unless you have the appropriate blade.

So what are those pesky high slugs for? These provide a little extra support for sorts that have overhanging ascenders/descenders. Case in point with this Q. These delicate parts of the letterform break very easily when printing and high slugs are one way to guard against this.

I keep these alongside the leads and slugs in the rack; a type high gauge will tell you if it is/isn't meant to be printed (if it's type high put it in the quarter case of rule.)
Lino slugs (cast on a linotype) offer a ton of great potential for designs and patterns. And they're easily cut with a slug cutter or trim saw.

Scoring is best done with a platen press, though I've carefully used the rule on a Vandercook. If you're printing a large run of greeting cards, etc., then you'll definitely want to score on a platen. Make sure to remove your rollers from the press before starting!
After locking up your rule in a chase, use a piece of creasing/channel matrix cut to size and push this onto the rule. It's plastic and has a sticky back that you need to peel off.

Put the chase in the press and pull an impression on the tympan; this will leave the sticky-backed matrix on the tympan paper.

Now peel the plastic top part off, which reveals the metal channel section underneath.

The exposed line down the middle of the channel is perfectly lined up with the scoring rule. You can now adjust where your card is going and add the gauge pins.

Perfect score every time!
The matrix can also be used for perforating. But! if you haven't got any, there's another quick down-and-dirty option. Pull one impression on the tympan with scoring or perforating rule. Then tape down another spare piece of steel rule over that line, remembering to compensate for the added thickness by removing some of your packing. It's not glamorous, but it sure works.
Perfing rule wants to pick up your card with it after making an impression. I remedy this by including bearers and fingers that help to hold the paper down when the perfing rule meets it.

Perfing and scoring on a press are a great addition to your printing arsenal! And printing decorative rules adds so many options to your design work.
