
Recently, I was asked for more details on using steel points on press after my pal, Paul Moxon, posted about them. So here’s a quick, down-and-dirty explanation of how I use them, though there may be many ways to do so.
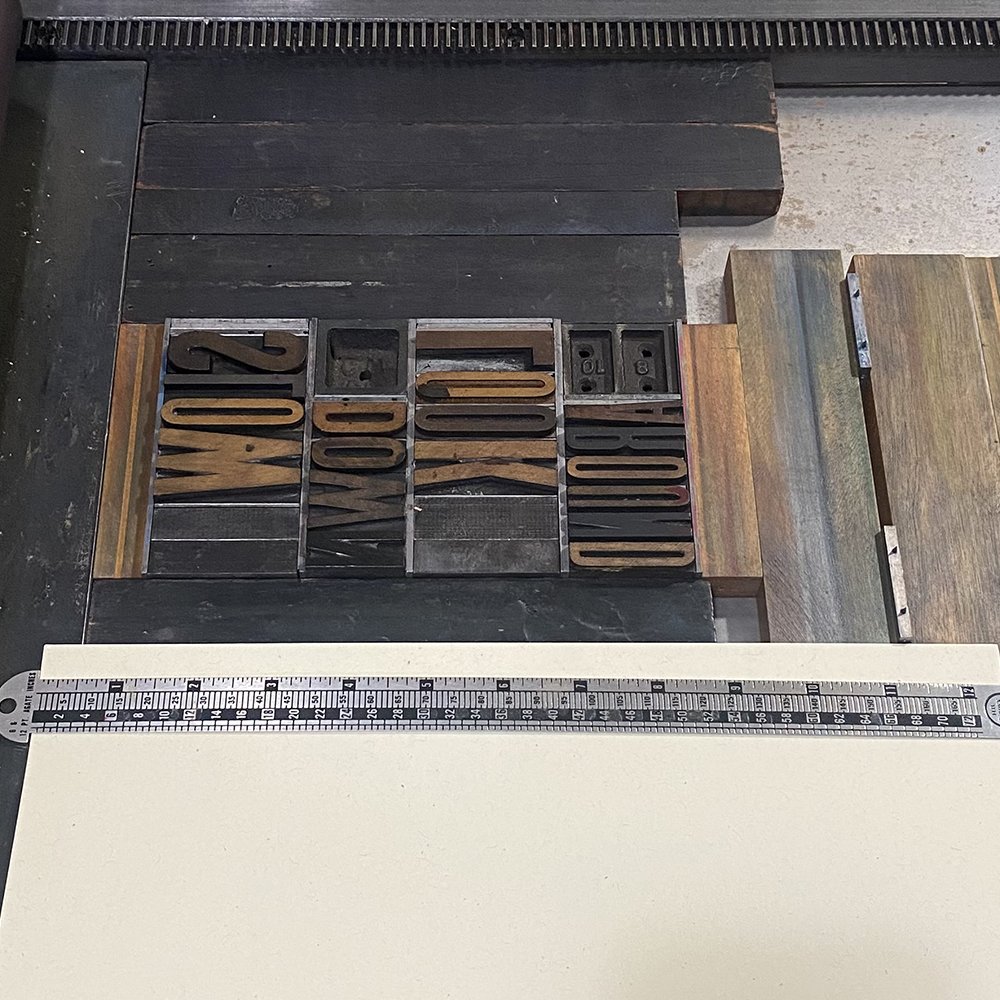
First, the point (ha) of these handy little tools is to help hold prints in place and keep them from fishtailing on press. They are particularly useful for Vandercook prints that span the length of the bed. Here they are, locked up at the end of a form.


It’s important to have extra paper at the end of your print to accommodate the points. I usually leave an inch or more to trim after printing. This print is 8x10” and I cut it to 8x12.5”. You can see here that the points will hit the paper well below where it will be trimmed.
After the set up is complete, I still carefully feed the paper and hold it to the drum for as long as possible, following the hold on the back side as well. Here I am doing it for the three colors, with the press points helping to catch and hold the paper in place.


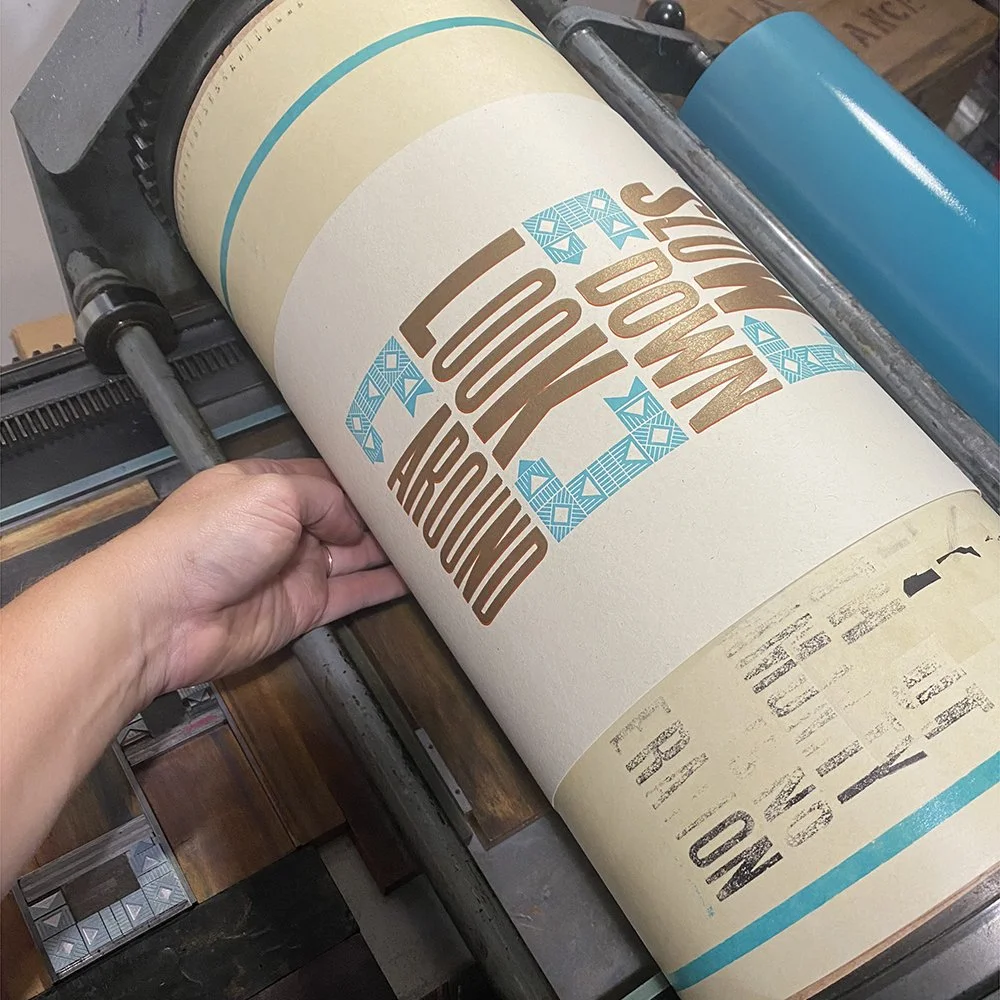
They’re difficult to see, but the points leave tiny marks on the paper. This is not to be used for registration purposes, but it’s helpful to see them to confirm they are in the cut off area.

If you don’t have steel points, consider adding some to your arsenal. They help tremendously with keeping your prints lined up and pristine! Just watch yourself; they are unforgiving if you accidentally put your hand down on them or brush it across while running prints through.
