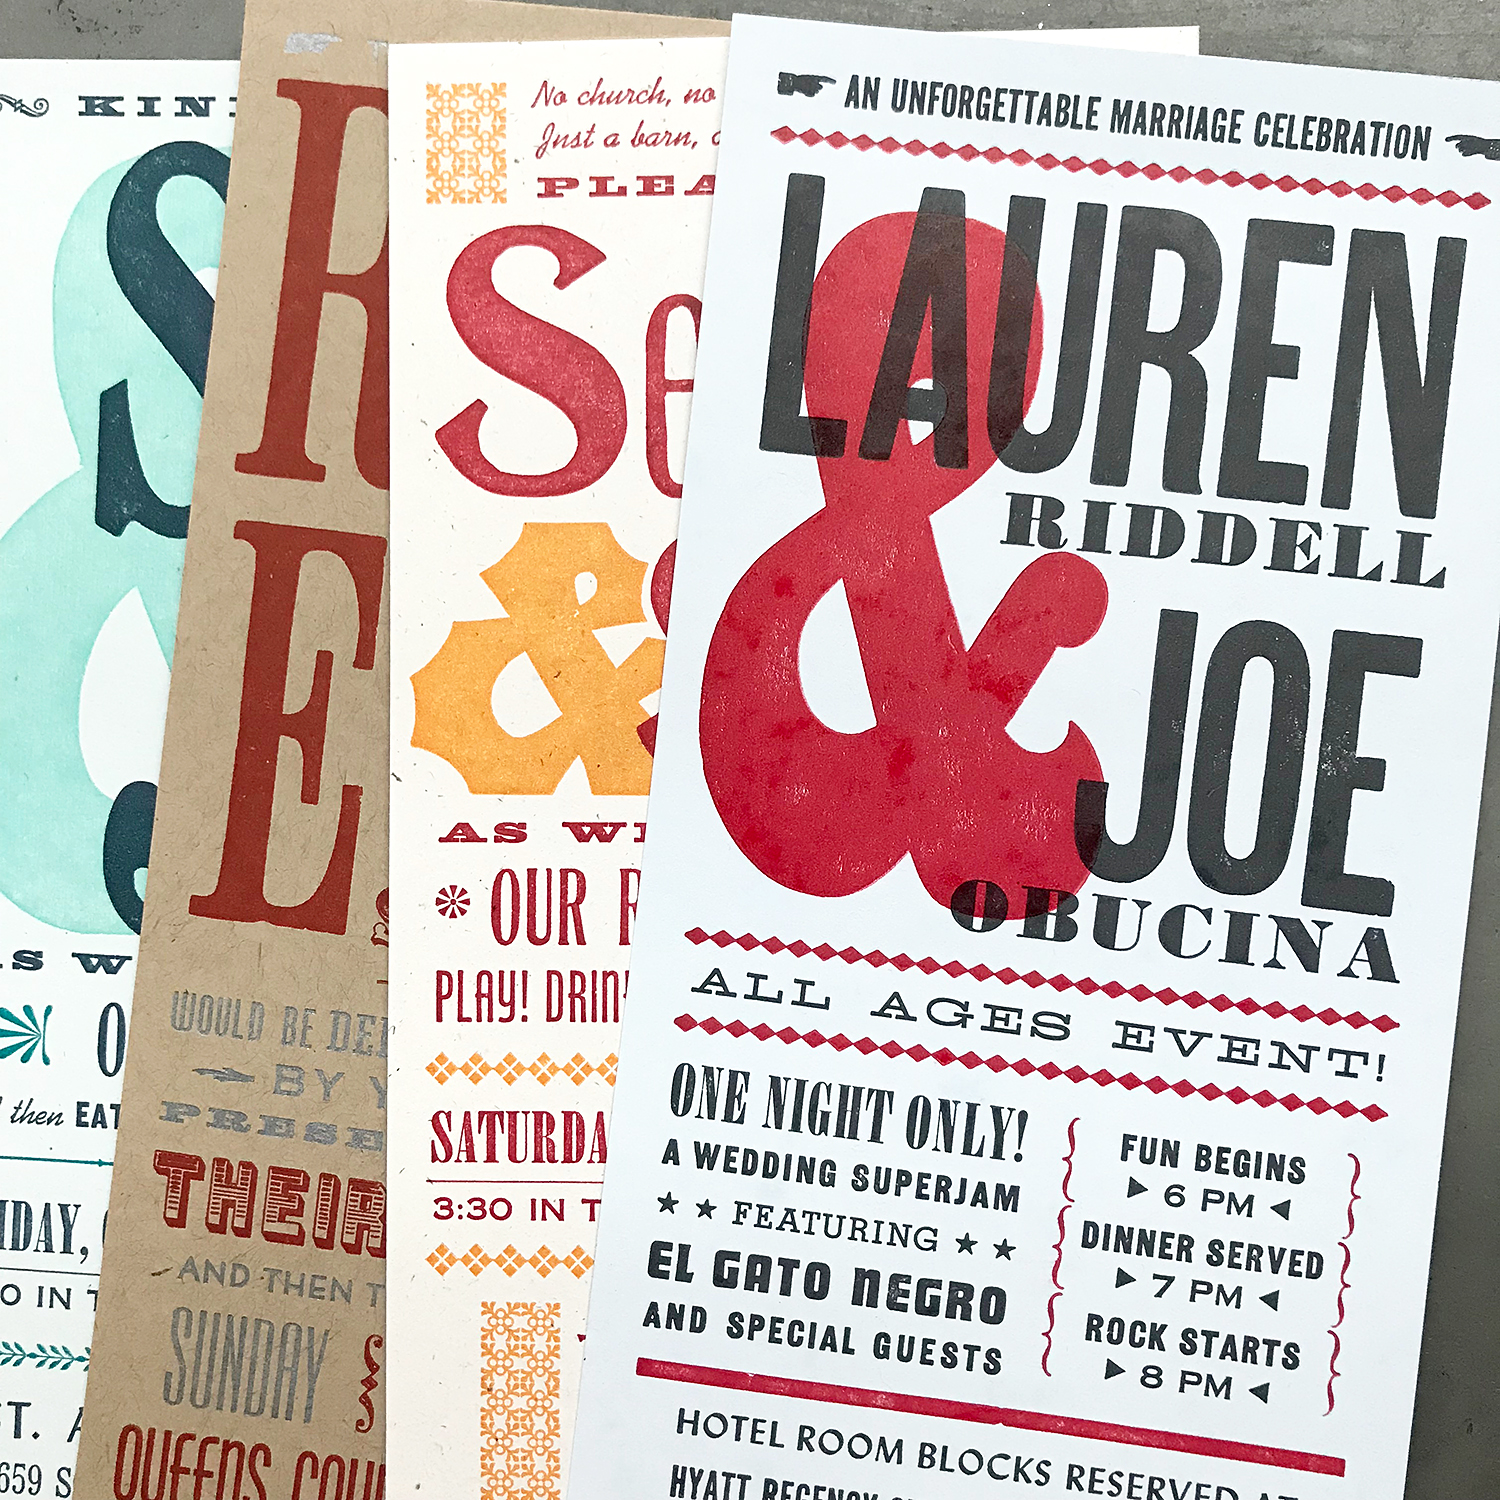
When a design calls for both wood and metal type, I find it’s best to separate them for better results, especially if the sizes are drastically different. If not, you’re often forced to choose between over-inking the metal or under-inking the wood. While many find either of these ‘effects’ to be a charming part of letterpress, I disagree. Let’s all shoot for the moon, i.e., better printing, shall we? For the following project that mixes 10-24 pt. metal type with 8 line wood type, I’ll walk through my solution for getting the best out of both.
I set up the entire first color in one form to get a decent proof on press for spacing, spelling and placement. This print is never great quality and it’s not worth trying to make it so if you’re going to print the wood and metal separately. Altering the amount of type and the surface area it covers on a platen press will affect the impression and quality of the first print, so don’t sweat it.

I double check the spacing with the digital proof I built for the project to make sure I’ve left the right amount of spacing for the second color.

When the alignment is good, I pull out the wood type and insert furniture to take its place. Sometimes, there’s a slight discrepancy between the furniture and wood type, even if they’re labeled as the same size. In this case, my worn furniture required adding 4 points of leading to compensate for ever-so-slightly-larger-than 8 line wood type. This isn’t always the case but it’s good to double and triple check the spacing when you print again.

This is where you tweak the printing to get the quality that you want, and it’s easier to do so without the wood type. When this run is finished, return the wood to the form, removing any additional leading you may have added, and then carefully measure to remove the metal type. If you do this, you can keep the same form set up, as well as the registration pins on the press.

When the first color is finished, I attempt to set up the second color in the exact same place within the chase. If there’s any question about your placement, or you think you may have shifted something, then remove your registration pins from the tympan and start over, just to be sure.
And again for the second color, like with the dark gray, I separate the thin rules and ornaments from the giant ampersand. There’s no way both would print successfully if they were run at the same time!
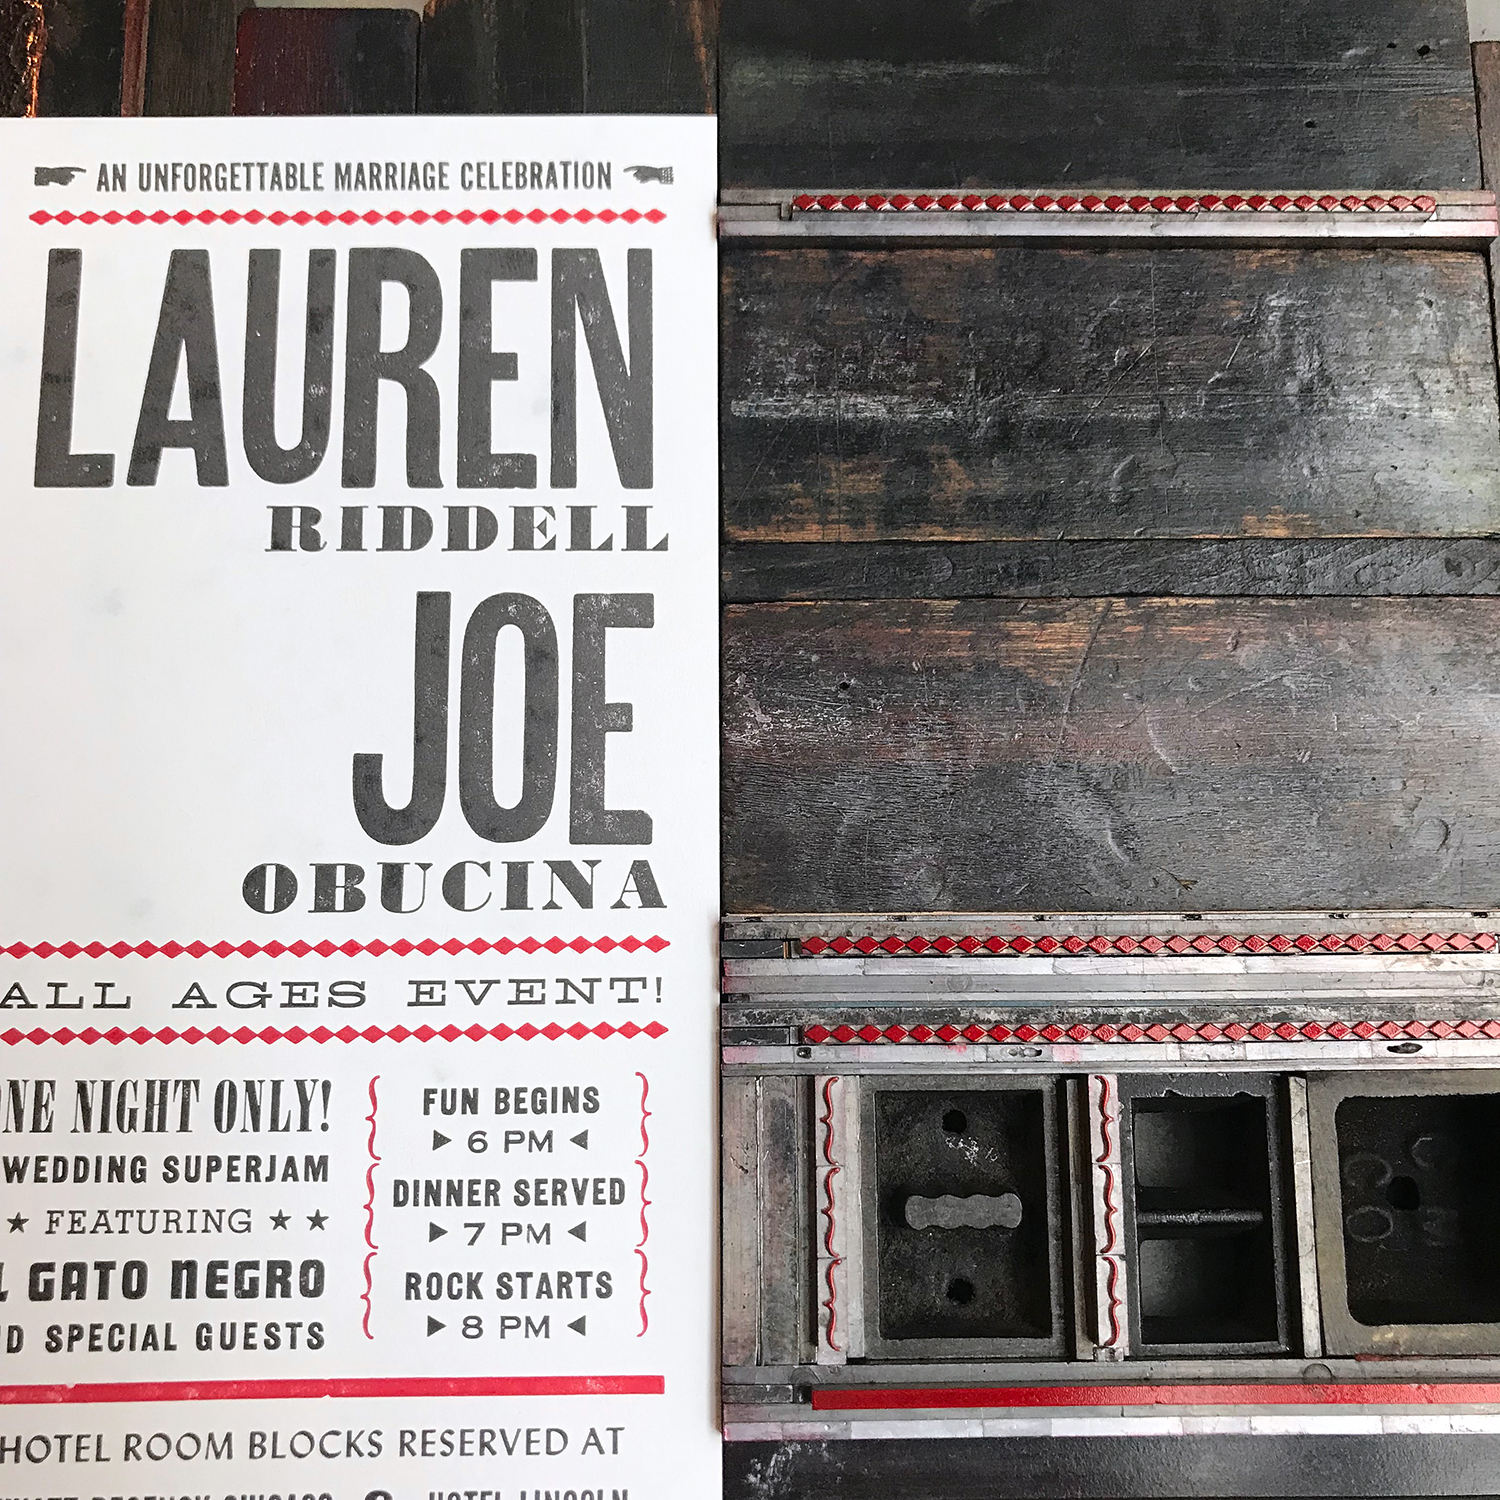
I like to build in thin leads around the rules and ornaments so that it’s easy to shift them slightly if the initial alignment is off.
This technique has been a tried and true process for me over many years. And while it would be great to think of a 2-color job as a 2-run job, especially if you’re budgeting a commercial project, the end results are what sell your printing. It may take a little longer on press, but in my opinion, it’s time well spent!